
Give your beloved mums a cozy new home by repotting them! Chrysanthemums often need repotting because they dislike becoming rootbound. By using compost, fresh soil, and a lot of care, you can ensure your mums stay healthy and happy. Follow these nine simple steps to repot them successfully:
Choose the Right Season
Chrysanthemums are sensitive to frost. While they are relatively hardy, winter storms can still damage them. Transplanting can be a bit stressful for plants since they’re not naturally accustomed to uprooting and relocating. But don’t worry—they recover quickly during their growing season, putting down new roots and shoots.

The best time to repot chrysanthemums is from mid-winter to early spring, depending on your climate zone. If you live in an area with mild, frost-free winters, you can start repotting in mid-winter. However, if your winters are severe, wait until a week or two before your last average frost date to begin.
Some gardeners prefer to repot in the fall, but this can be risky if frost is common in your area. Only consider fall repotting if you live in a warm winter zone or plan to keep your mums indoors in bright light until the weather warms up.
Choose a Larger Container
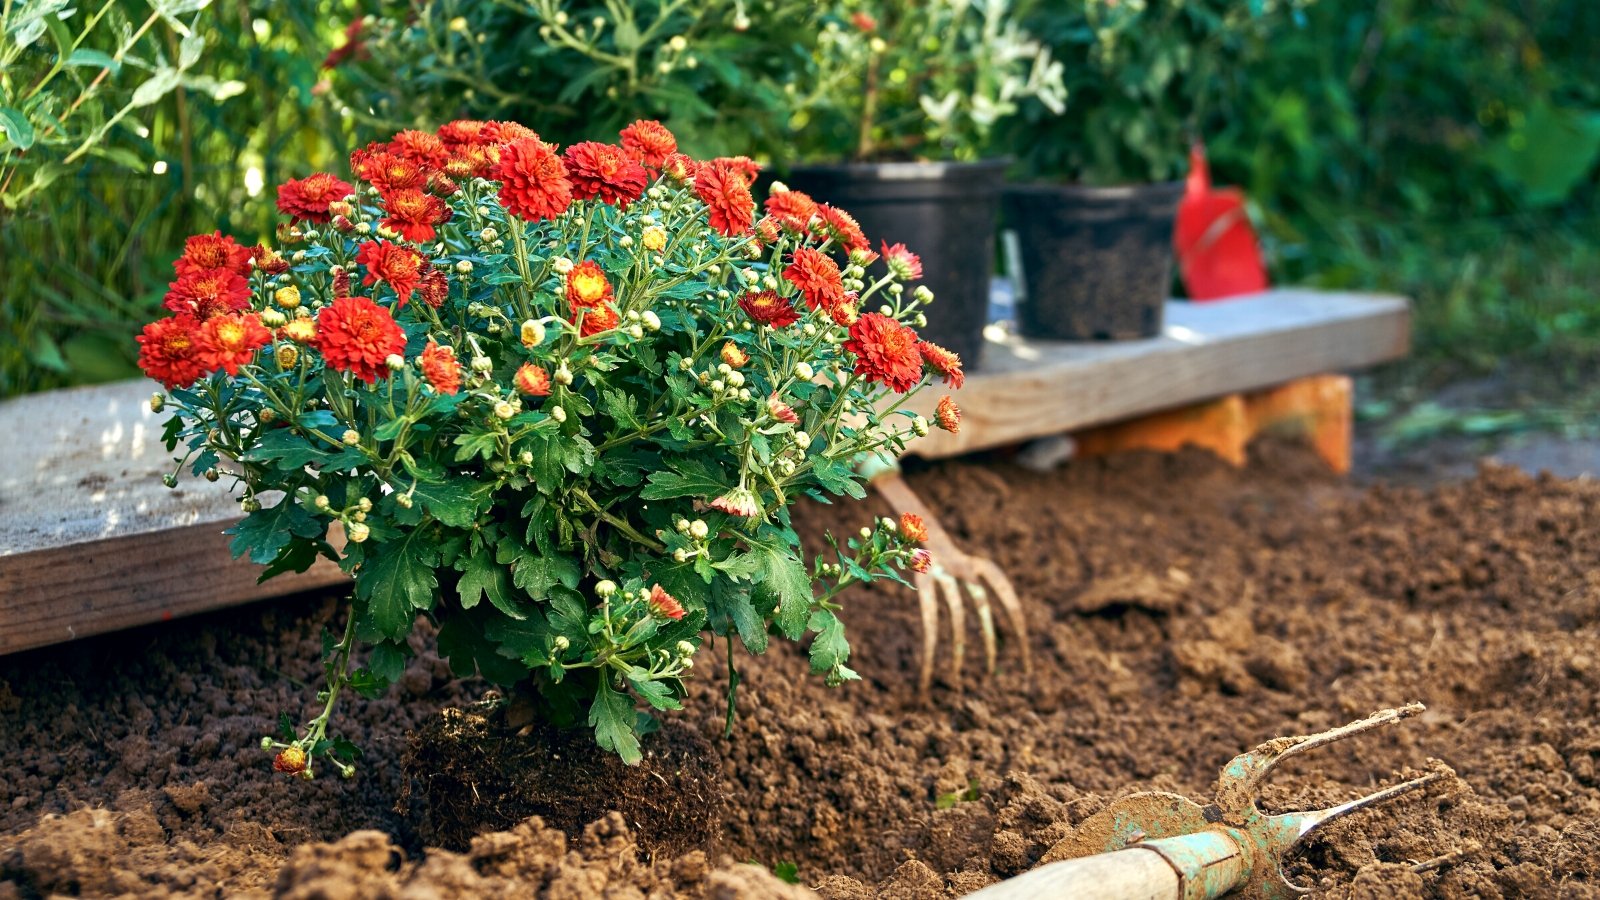
Once it’s mid-winter or early spring and you’re ready to repot, start by finding a container larger than the one your mum is currently in. Although chrysanthemums typically have shallow root systems, they can become rootbound as they mature. Look for a pot that’s at least two inches deeper and wider than the current one.

Chrysanthemums are marginally frost-hardy in USDA zones 4 to 9, but they’re even less hardy outdoors in containers due to exposure to extreme temperatures. Choose a sturdy, frost-proof container made of ceramic or stone to help protect your chrysanthemum’s roots from the cold.
Plastic containers are fine during the growing season but tend to be too flimsy for winter. They offer little insulation, leaving mums more vulnerable to frost damage. Use plastic only for hardy species in cold climates, or stick to warm zones for more tender varieties.
Prepare the Soil Mix
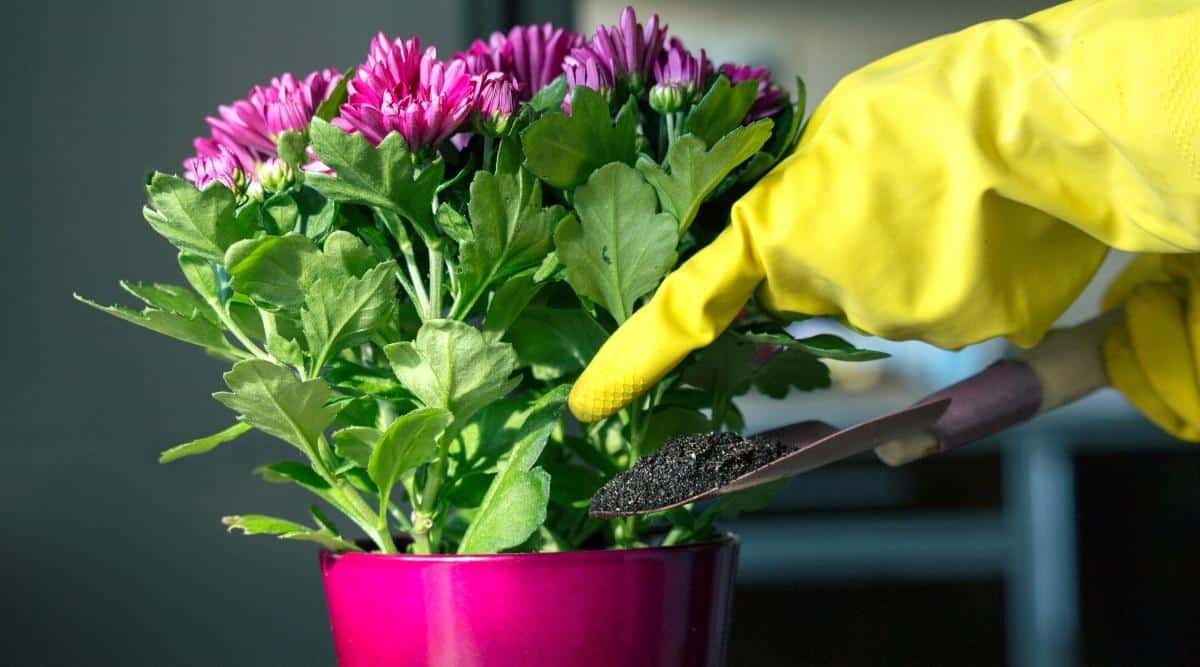
Chrysanthemums thrive in rich, moist soil with good drainage. Most commercial soil mixes for containers will work, but if you’re making your own, use a combination of compost and soilless materials like coco coir or sustainably sourced peat. Add perlite or vermiculite to improve drainage.
Compost is a great addition as it provides nutrients, beneficial microbes, and better drainage. A small amount in your soil mix will encourage your mums to produce plenty of blooms in the fall.
You’ll also want to add some fertilizer to boost growth in early spring. Mix an organic powdered fertilizer into the soil, or apply a liquid one a few weeks after repotting. If frost is still a threat, wait to fertilize until the weather warms up and your mums start growing again.
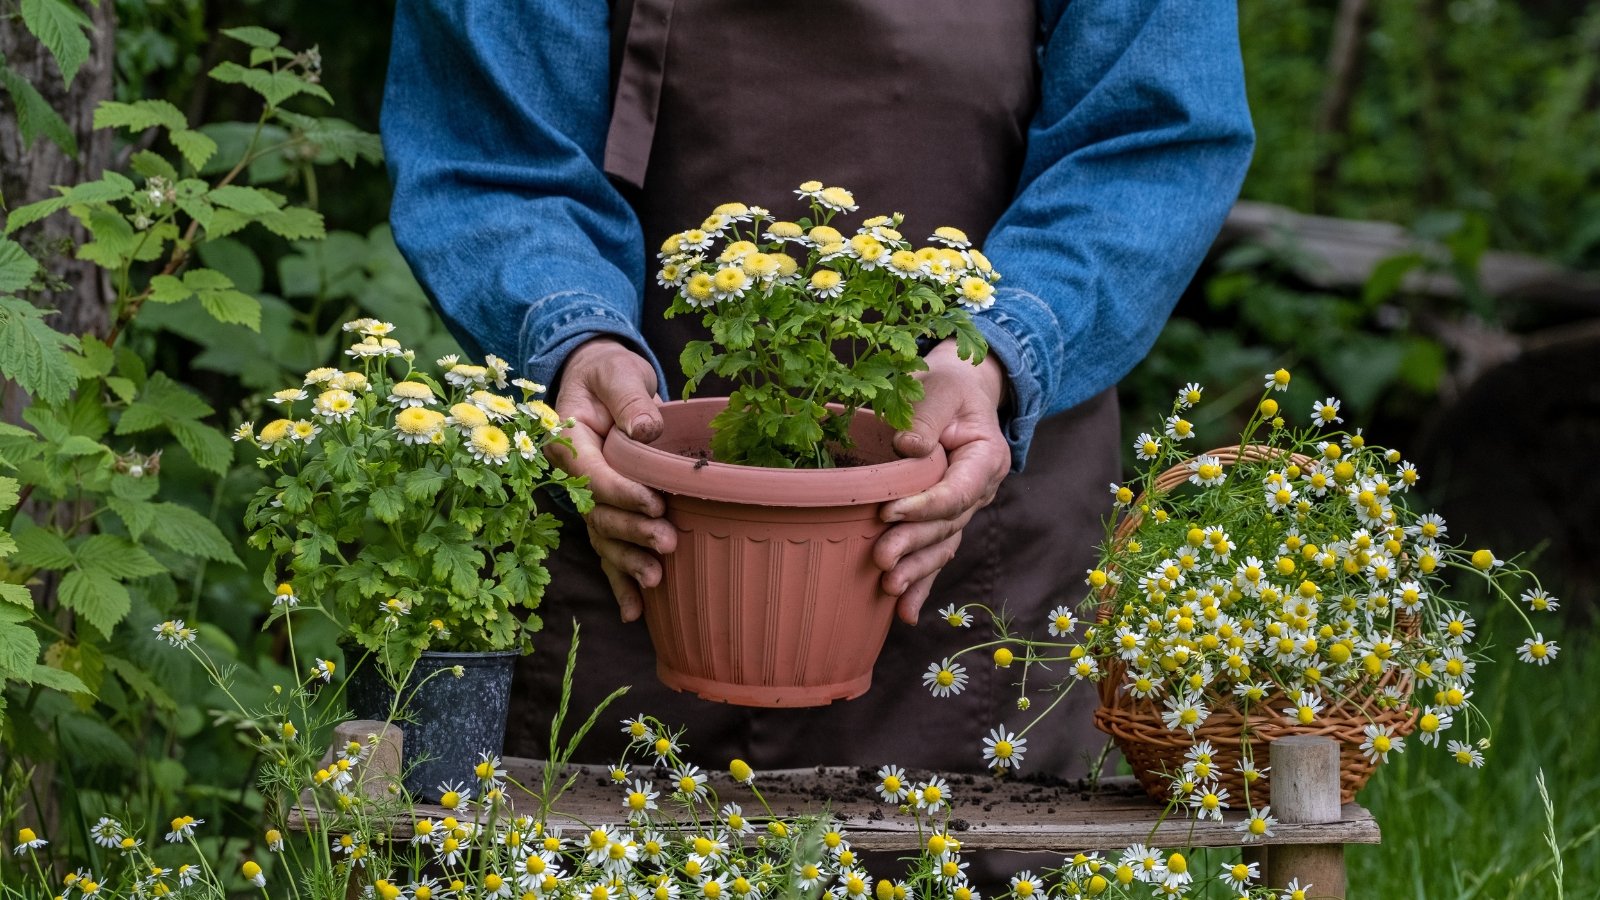
Repotting Your Chrysanthemums
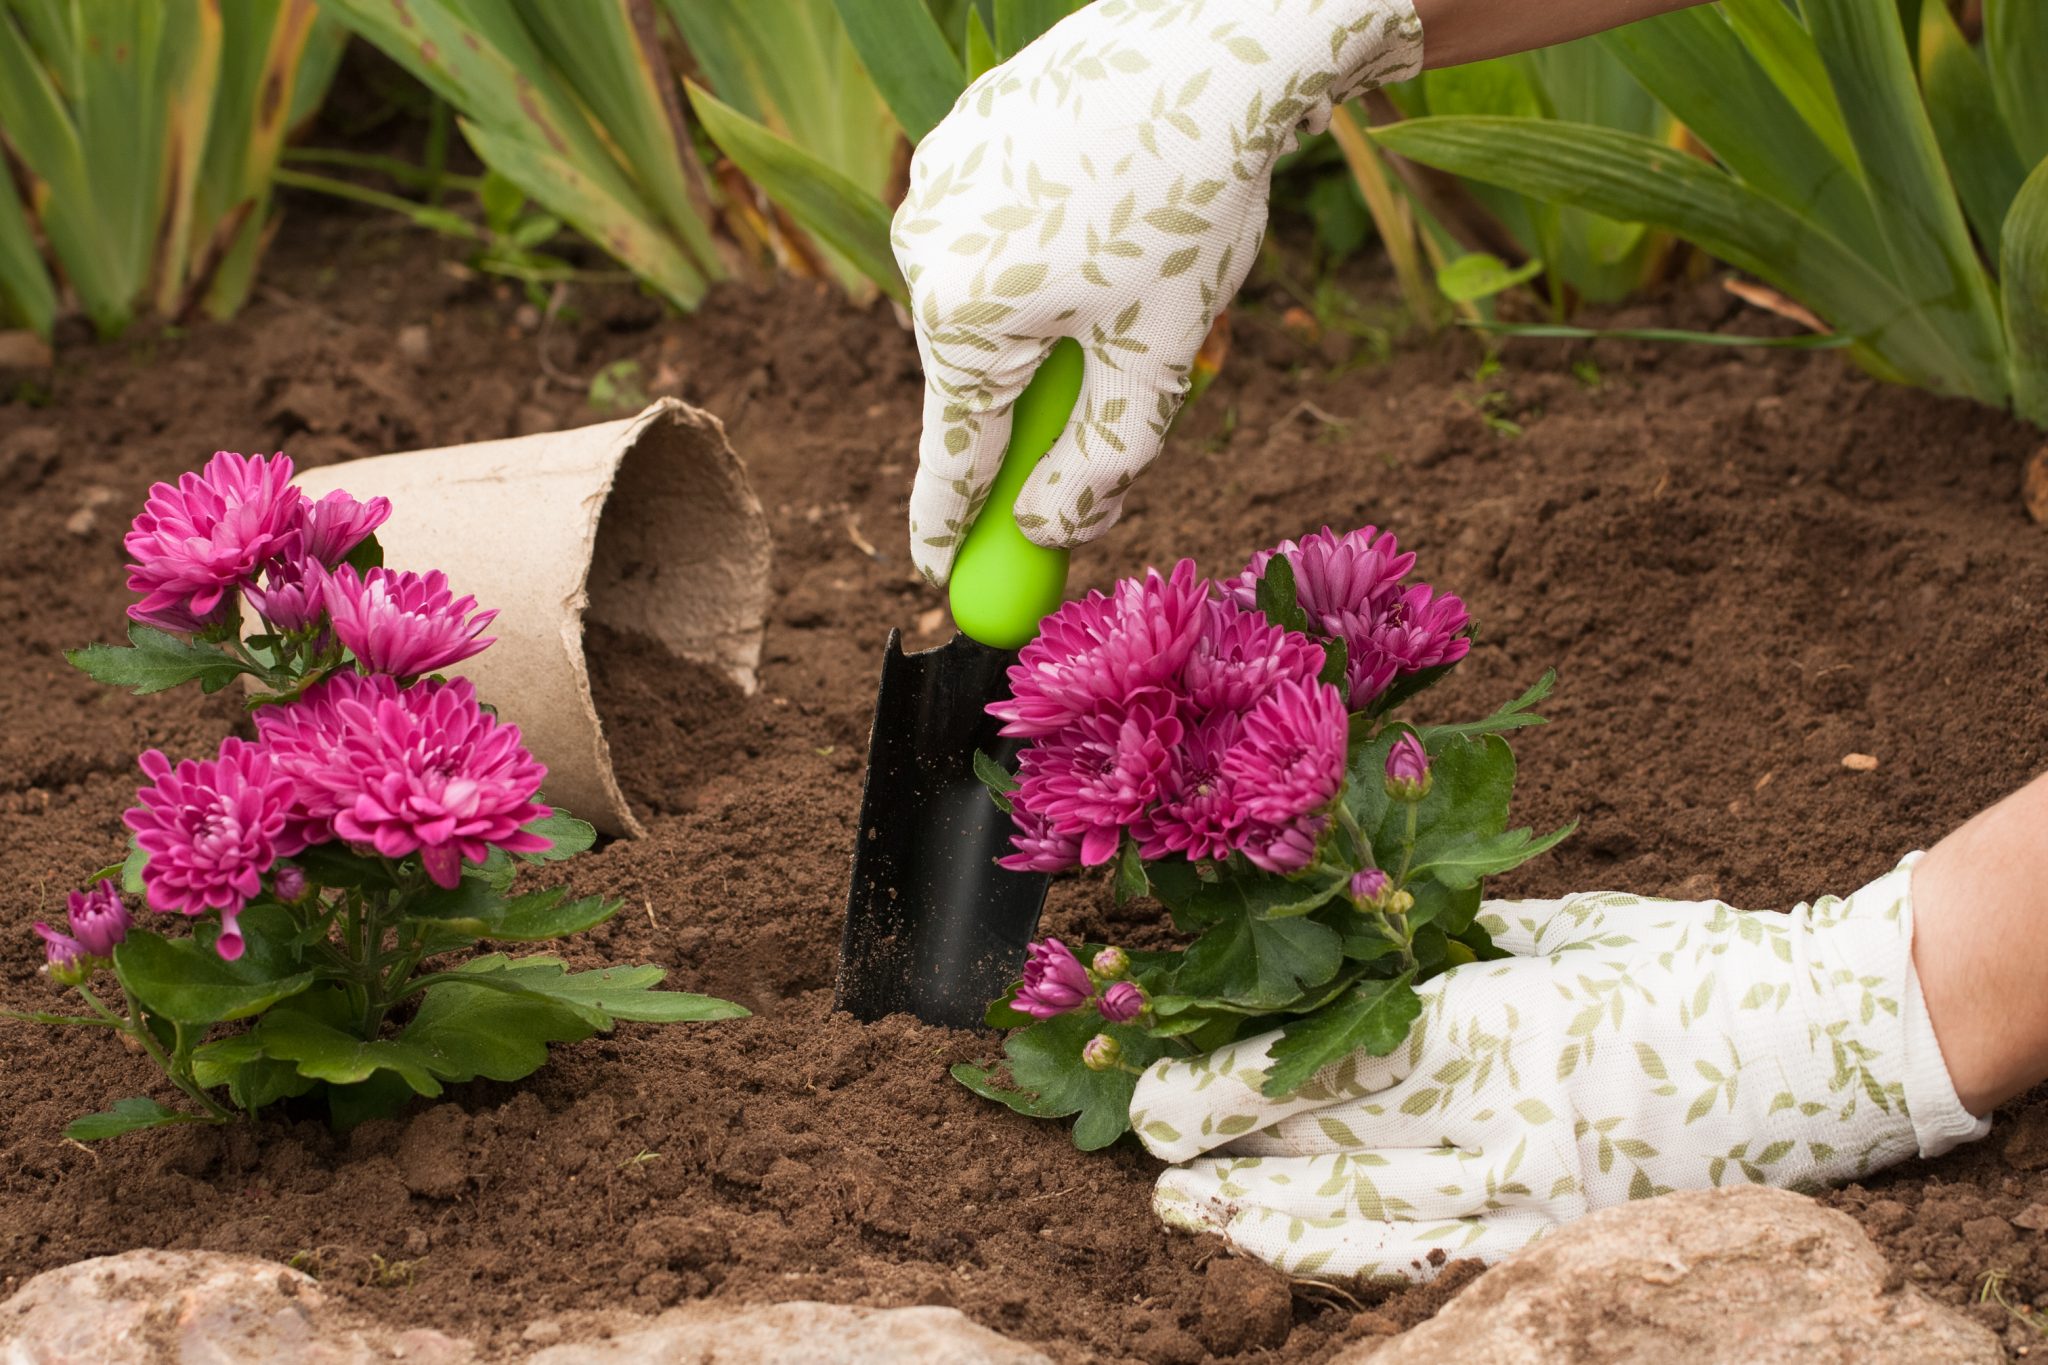
With your soil mix and new container ready, it’s time to repot! Start by trimming any long stems. This helps balance the energy needed to sustain both the roots and the stems after transplanting.
Gently remove your chrysanthemum from its current pot and loosen the roots with your fingers, especially if the plant is rootbound. You want the roots to dangle freely so they can easily spread out in the fresh soil.
Add a layer of soil to the bottom of the new container so that the plant sits at the proper height. The roots shouldn’t be exposed, but the base of the plant also shouldn’t be buried. Adjust the amount of soil to ensure the mum sits level with the top of the container.
Fill the Pot
Once your chrysanthemum is positioned correctly, fill the pot with soil until it reaches the base of the plant. Gently pat the soil down and water it well. You might notice that the soil level drops as it settles. If this happens, add more soil and water again until the soil remains at the correct height.

If your pot has a drainage tray, you may need to empty it during this process. While chrysanthemums enjoy moist soil, they don’t like waterlogged roots. Once you’ve finished filling the container and the soil has settled, replace the drainage tray
Add Mulch or Compost
Applying compost or an organic mulch after repotting your chrysanthemums can provide numerous benefits. Mulch enhances soil by improving porosity, supplying nutrients, and supporting soil life. Adding mulch on top helps regulate moisture levels—keeping roots dry during rainstorms while retaining moisture in dry spells. It also creates air pockets, allowing the roots to breathe.
Compost is the ideal mulch, but other organic materials work well too. Consider using leaf mold, dead leaves, straw, or grass clippings. These will decompose over time, enriching the soil and offering protection from harsh weather.
Chrysanthemums thrive in humus-rich environments, and compost is full of it. If you don’t have compost or mulch available, you can find humus-rich products at your local garden center or online. While it might seem like an afterthought, adding mulch or compost can significantly boost your mums’ chances of surviving extreme weather conditions.
Water Regularly
After repotting, be sure to water your chrysanthemums regularly. They are a thirsty plant, often requiring water daily in hot weather or every other day in cooler conditions. Keeping the soil moist is especially important as they establish new roots.
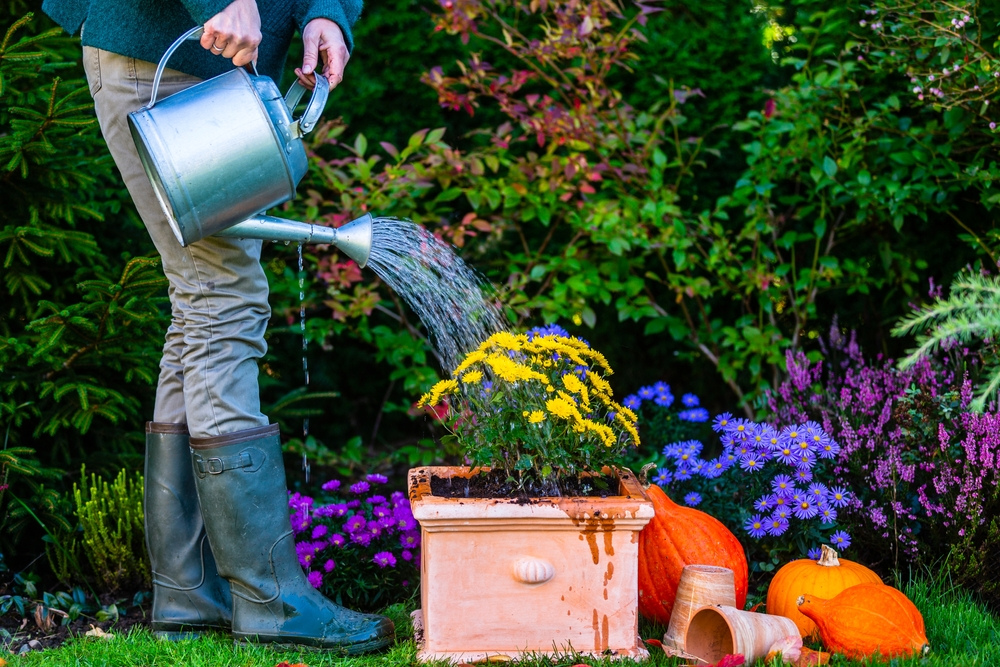
Use the finger test to check if your mums need water. Insert your finger deep into the soil—if it feels moist near the top, wait before watering again. If the top two inches are dry, water thoroughly until it runs out of the drainage holes.
When it rains or if the temperature drops, you can reduce watering. Otherwise, chrysanthemums prefer consistently moist soil, which helps them bloom, grow, and establish strong roots.
Monitor for Changes
Once you see new growth, it’s a sign that your repotting efforts were successful! However, continue to closely monitor your mums for any issues. Look out for signs of pests like aphids or diseases like powdery mildew or wilting leaves. Plants are more vulnerable to pests and disease right after being repotted.
Remove pests by hosing them off, and treat any diseases promptly. Common issues like rust, petal spot, and leaf spot can affect mums, but with careful observation, you can address problems before they become severe.
In addition to pests and diseases, watch for signs of water stress. Chrysanthemums enjoy moist soil, but overly large containers can lead to water retention and soggy soil. Yellowing leaves can indicate overwatering, while dry, crispy leaves signal a need for more water.
Repot Before Becoming Rootbound
Chrysanthemums dislike being rootbound, which can lead to reduced blooms, stunted growth, and fewer stems. To avoid this, repot them before the roots become too confined, or divide them into smaller containers.
You can check for rootbound conditions by gently lifting the plant from its pot once it has established itself. If you notice roots circling the edge of the soil, it’s time to repot. If there are no visible roots or the rootball remains intact, your plant is content in its current container.
Repotting typically needs to be done every two or three years. Younger mums tend to grow faster and may require repotting sooner. Keep an eye on your mums’ growth patterns, as they will signal through their flowers, leaves, and new shoots whether they’re thriving or need a larger space.