When I first became a homeowner, I made a promise to revive and maintain the beautiful gardens left behind by the original owner, an avid gardener. I was eager to dive into gardening, even trying my hand at starting flowers from seeds indoors. Initially, my seedlings flourished, but when I moved them outside in May, they withered within a day. To help you avoid similar heartbreak, here are some common mistakes I made when growing flowers from seeds.
Why I Chose to Start from Seeds
My fiancé and I moved into our first home last August, and I was immediately inspired by the gardens that the original owner had cultivated. A large perennial garden shaded by a grand oak, lush hostas framing the house, and vibrant butterfly and rose gardens along the woods made me want to honor this gardening legacy. There were even remnants of a once-thriving vegetable garden, now overrun with weeds, waiting to be revived.
Determined to care for these spaces, I started small—pruning dead plants, managing weeds, and planting a few new perennials. But the idea of starting my own plants from seeds was the most exciting—and daunting—part of my gardening journey. I dreamed of walking outside in the summer and picking fresh flowers for a bouquet straight from my own garden. Growing from seeds was also the most budget-friendly way to bring my vision of a vibrant cut flower garden to life.
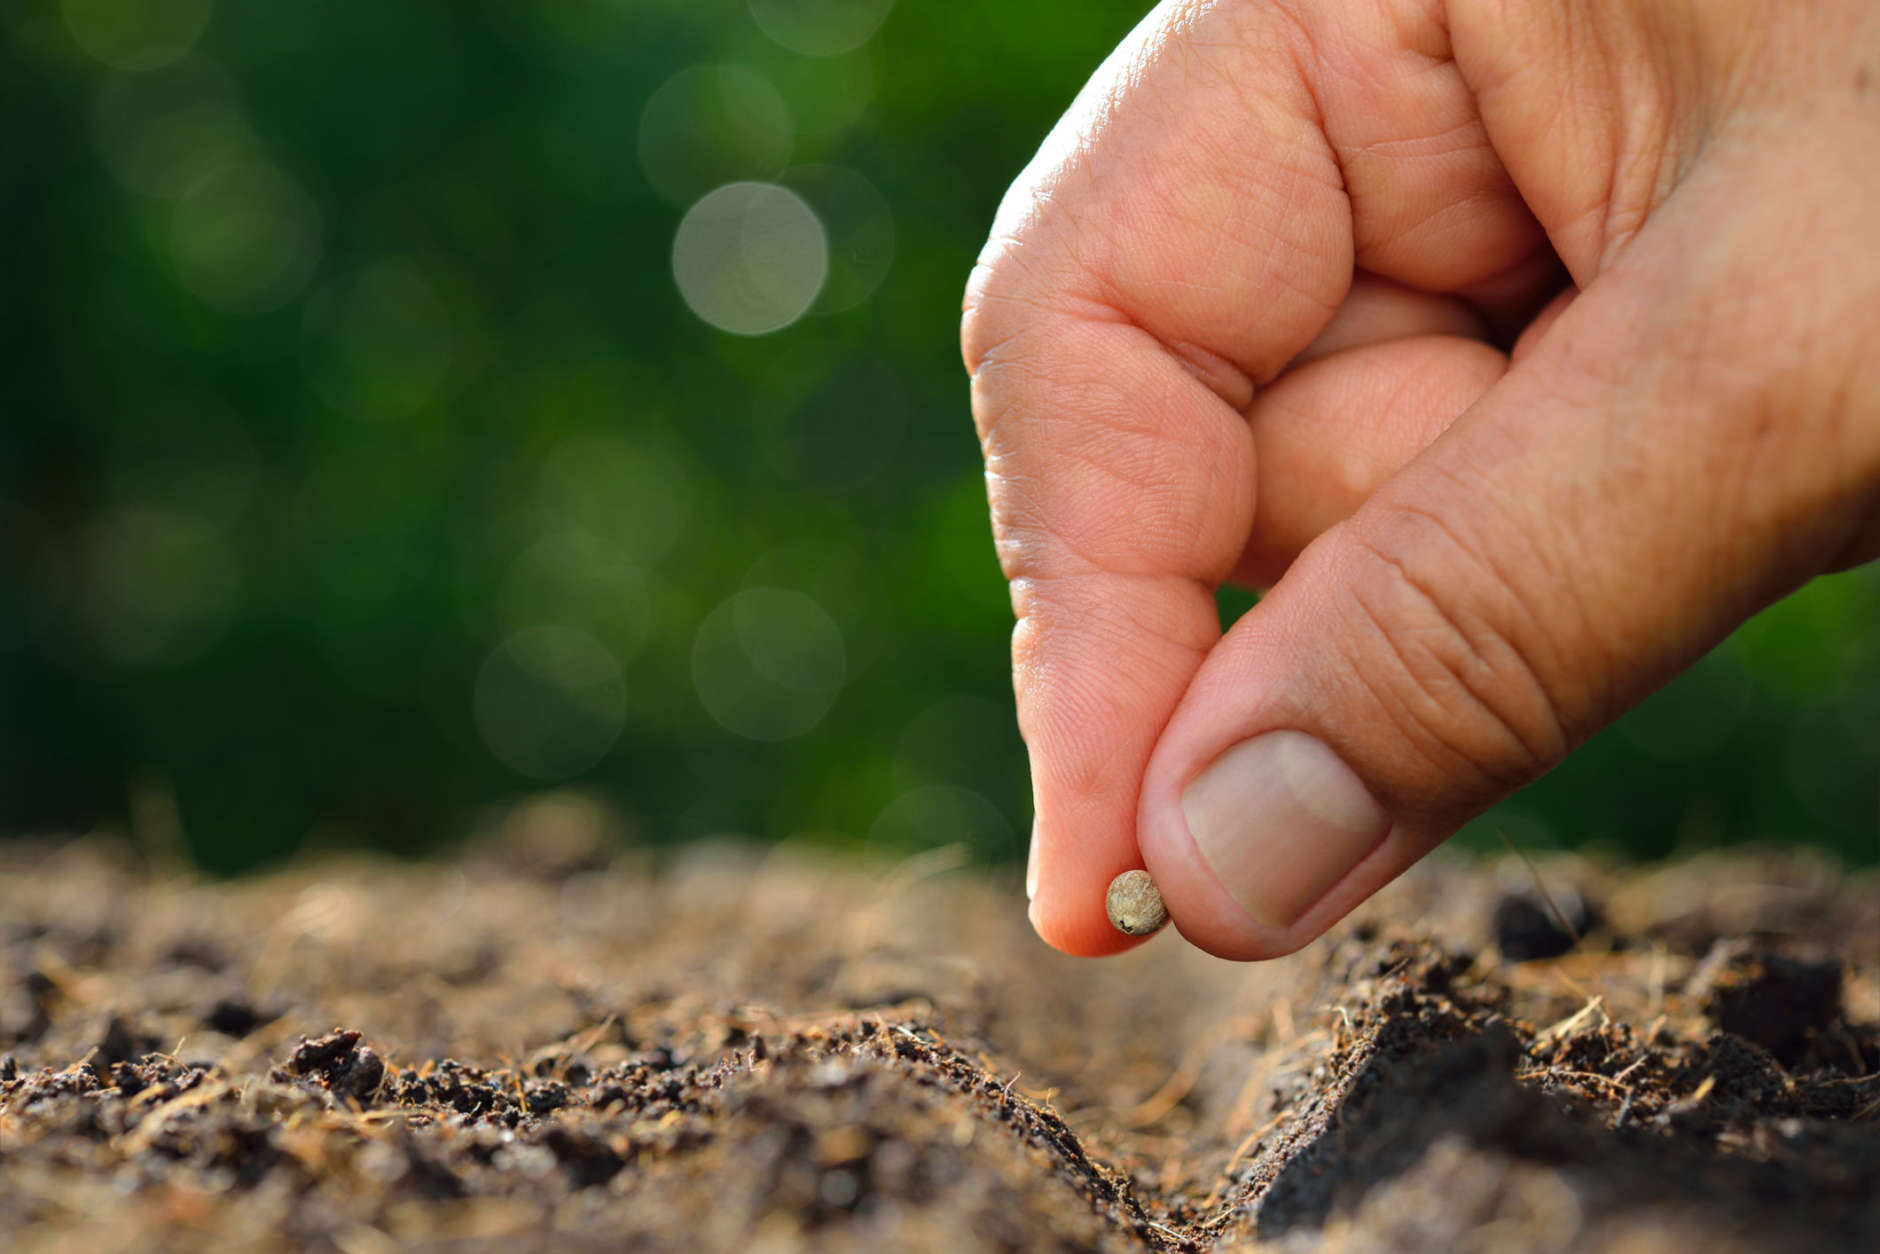
The Advantages of Starting Seeds Indoors
Starting seeds indoors allows your plants to get a head start on the growing season, giving them a chance to reach maturity earlier and extend their blooming period. This approach is especially helpful in colder zones like mine (Zone 5b), where outdoor growing time is limited by frost dates. The idea is to keep seedlings warm and protected indoors until the weather is favorable, helping them avoid early-season frost and grow into robust plants by the time they’re transplanted outdoors.
My (Flawed) Seed-Starting Approach
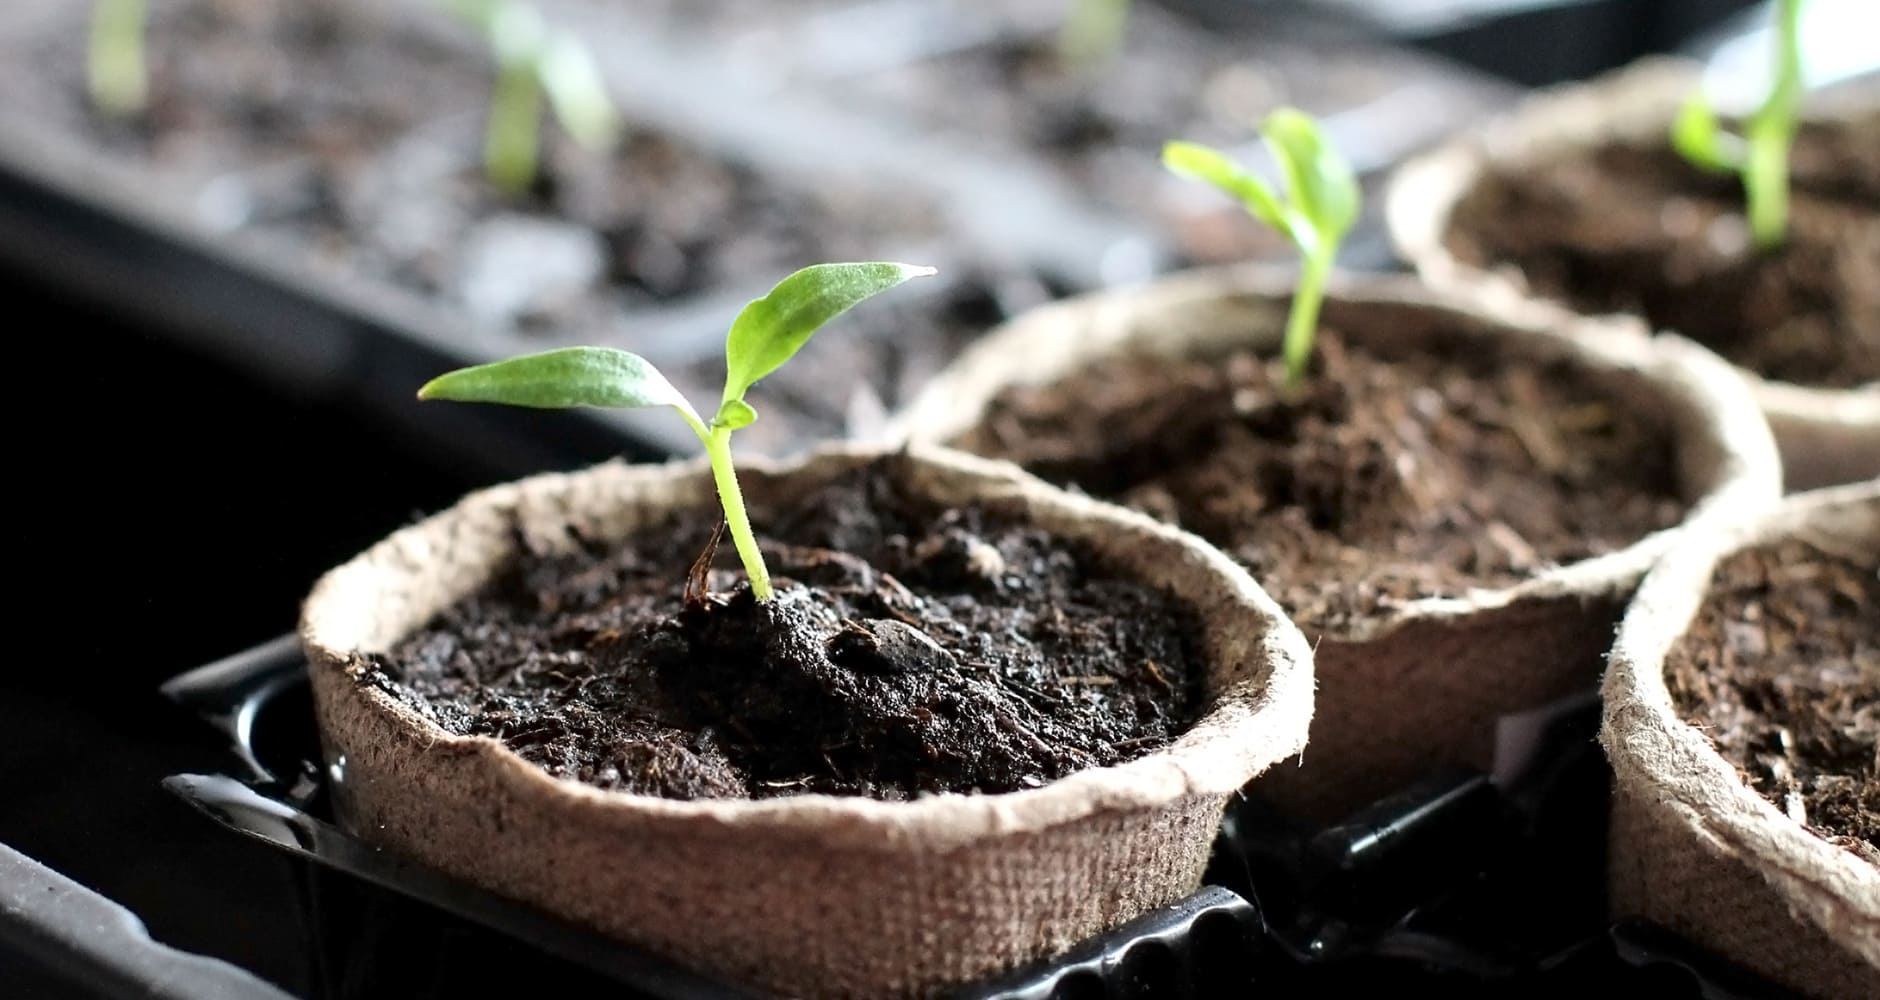
Knowing that my last average frost date was May 7, I used an online seed-starting calculator to determine when to start my seeds, which turned out to be mid-to-late March. Armed with a seed-starting kit complete with peat plugs and fertilizer, I bought two cut flower kits from a local seed store. One kit included statice, cherry stock, strawflower, and celosia, while the other featured zinnia, aster, phlox, globe amaranth, and snapdragons.
Excited about my soon-to-be garden, I carefully followed the instructions: soaking the peat plugs with water mixed with powdered fertilizer, planting 2-3 seeds per plug, and covering them to keep the moisture in. I placed the tray in a sunny spot and watched as seedlings began to sprout beautifully within a few weeks.
Unfortunately, my joy was short-lived when I made critical mistakes during the transition from indoor growing to outdoor planting. The seedlings were thriving indoors but couldn’t handle the sudden change in environment. To save yourself the trouble I faced, make sure you avoid these common pitfalls in your seed-starting journey.
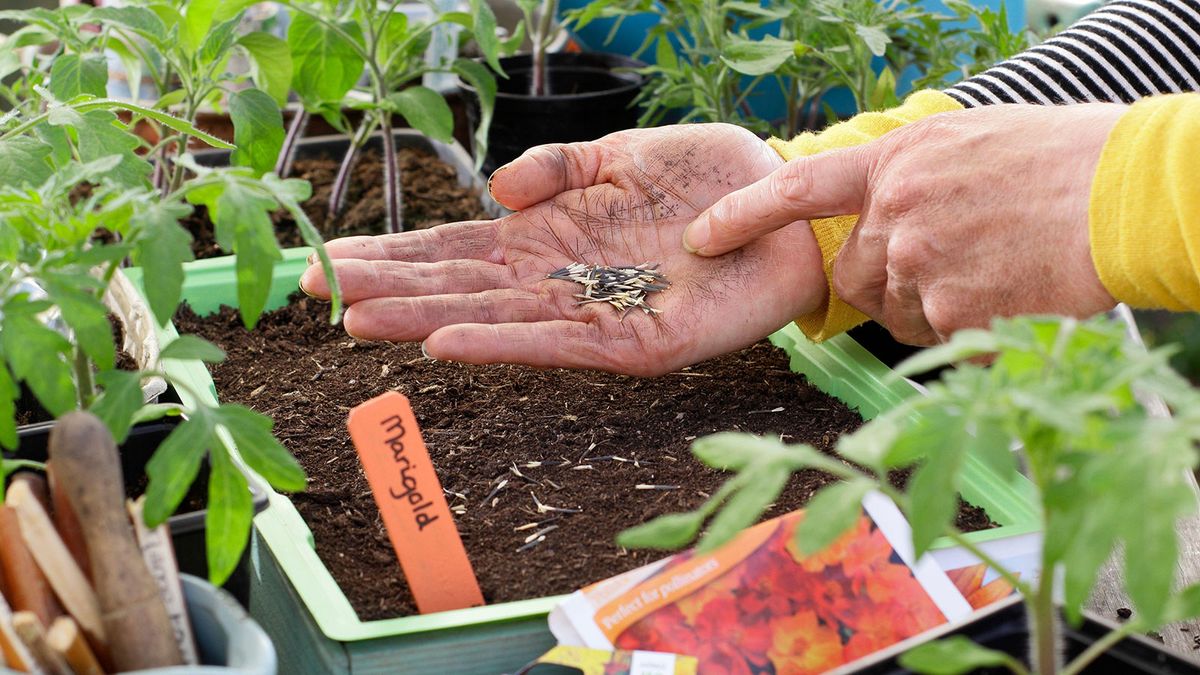
Seed-Starting Mistakes
This is where things started to go downhill. I was thrilled with the progress of my seedlings, but with a few weeks left before they could be safely planted outdoors, I noticed them growing weaker each day. By mid-May, confident that the last frost had passed, I transplanted them into the garden, only to watch them die almost immediately.
After working through the frustration, I’ve shifted my focus to improving my approach for next year, with hopes of finally enjoying those homegrown flower bouquets.
Excessive Dampness
To maintain moisture during germination, I had kept the seed-starting tray covered. However, once the seedlings emerged, they began to droop, and I noticed mold forming on some of the peat plugs. I realized that the conditions were too damp, causing the seedlings to weaken. In hindsight, I should have removed the lid as soon as the seedlings sprouted to allow for proper air circulation and prevent mold growth.
Overcrowding the Seeds
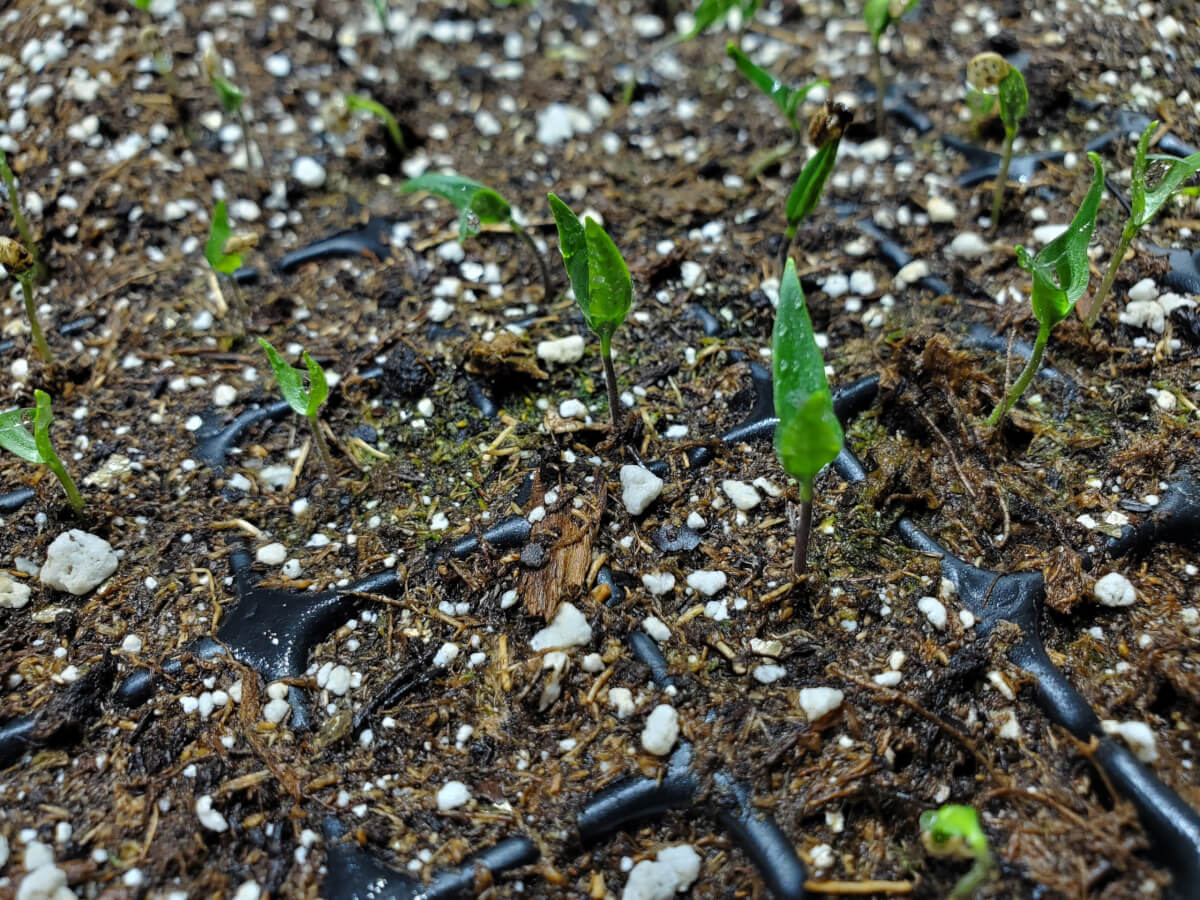
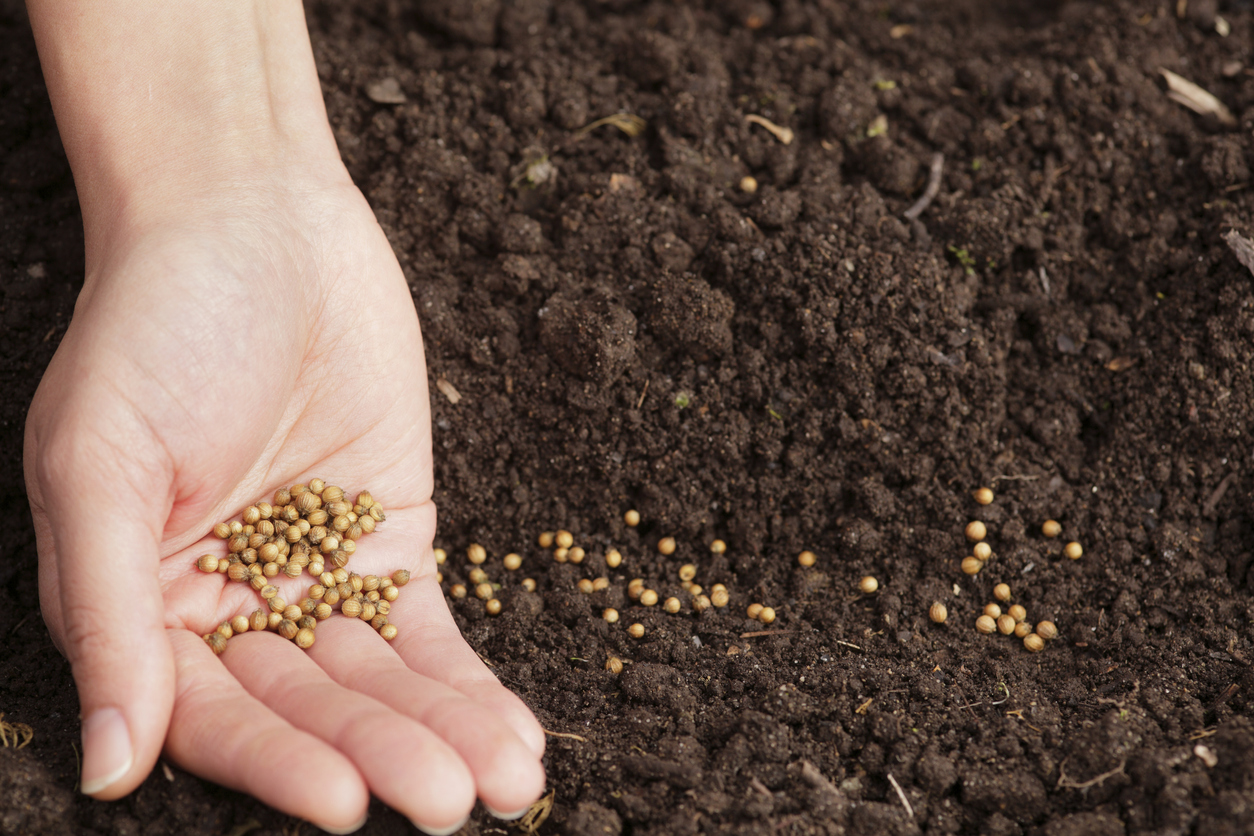
Another misstep was planting too many seeds per plug. While I sometimes stuck to 2-3 seeds, other times I added 5-6, thinking more was better. I also skipped the crucial step of thinning the seedlings after they sprouted, leaving multiple plants in each plug competing for the same limited resources. This overcrowding stunted their growth, leading to weak, droopy seedlings that couldn’t thrive.
Skipping the Hardening Off Process
I had heard about “hardening off”—the process of gradually acclimating indoor-grown seedlings to outdoor conditions—but I dismissed it as unnecessary. I later learned that this was a significant oversight. Hardening off helps seedlings adjust to outdoor elements like wind, direct sunlight, and fluctuating temperatures, making them more resilient.
To properly harden off seedlings, I should have started by placing them outside for short periods each day, gradually increasing their exposure over a week or two. This process would have helped strengthen their stems and leaves, preparing them for the more demanding outdoor environment.
Learning from these mistakes, I’m determined to refine my seed-starting strategy next season. By providing better air circulation, thinning out seedlings, and diligently hardening them off, I hope to see my garden flourish with vibrant, homegrown flowers.
