Arranging flowers isn’t just about placing them in a vase—it’s an art that requires a bit of thought and technique. A stunning bouquet starts with careful planning and preparation, ensuring that your flowers not only look beautiful but also maintain their vibrancy and freshness.
Thankfully, mastering the art of flower arranging is simpler than it seems. By understanding the basics, you can effortlessly create professional-looking floral displays. This guide will walk you through the steps to arrange flowers beautifully and confidently.
Step 1: Select a Floral Arrangement Design
Start by deciding on a color scheme for your arrangement before purchasing flowers. This will help guide your choices and ensure that the colors you select work harmoniously. Monochromatic designs, showcasing varying shades of a single color, can be visually striking. Alternatively, complementary colors create a dynamic contrast that makes each bloom stand out.
However, there’s no strict rule when choosing colors—feel free to experiment with what’s in season or available at your local market. Select flowers that catch your eye, and mix varieties with different shapes, sizes, and growth patterns for a unique arrangement.

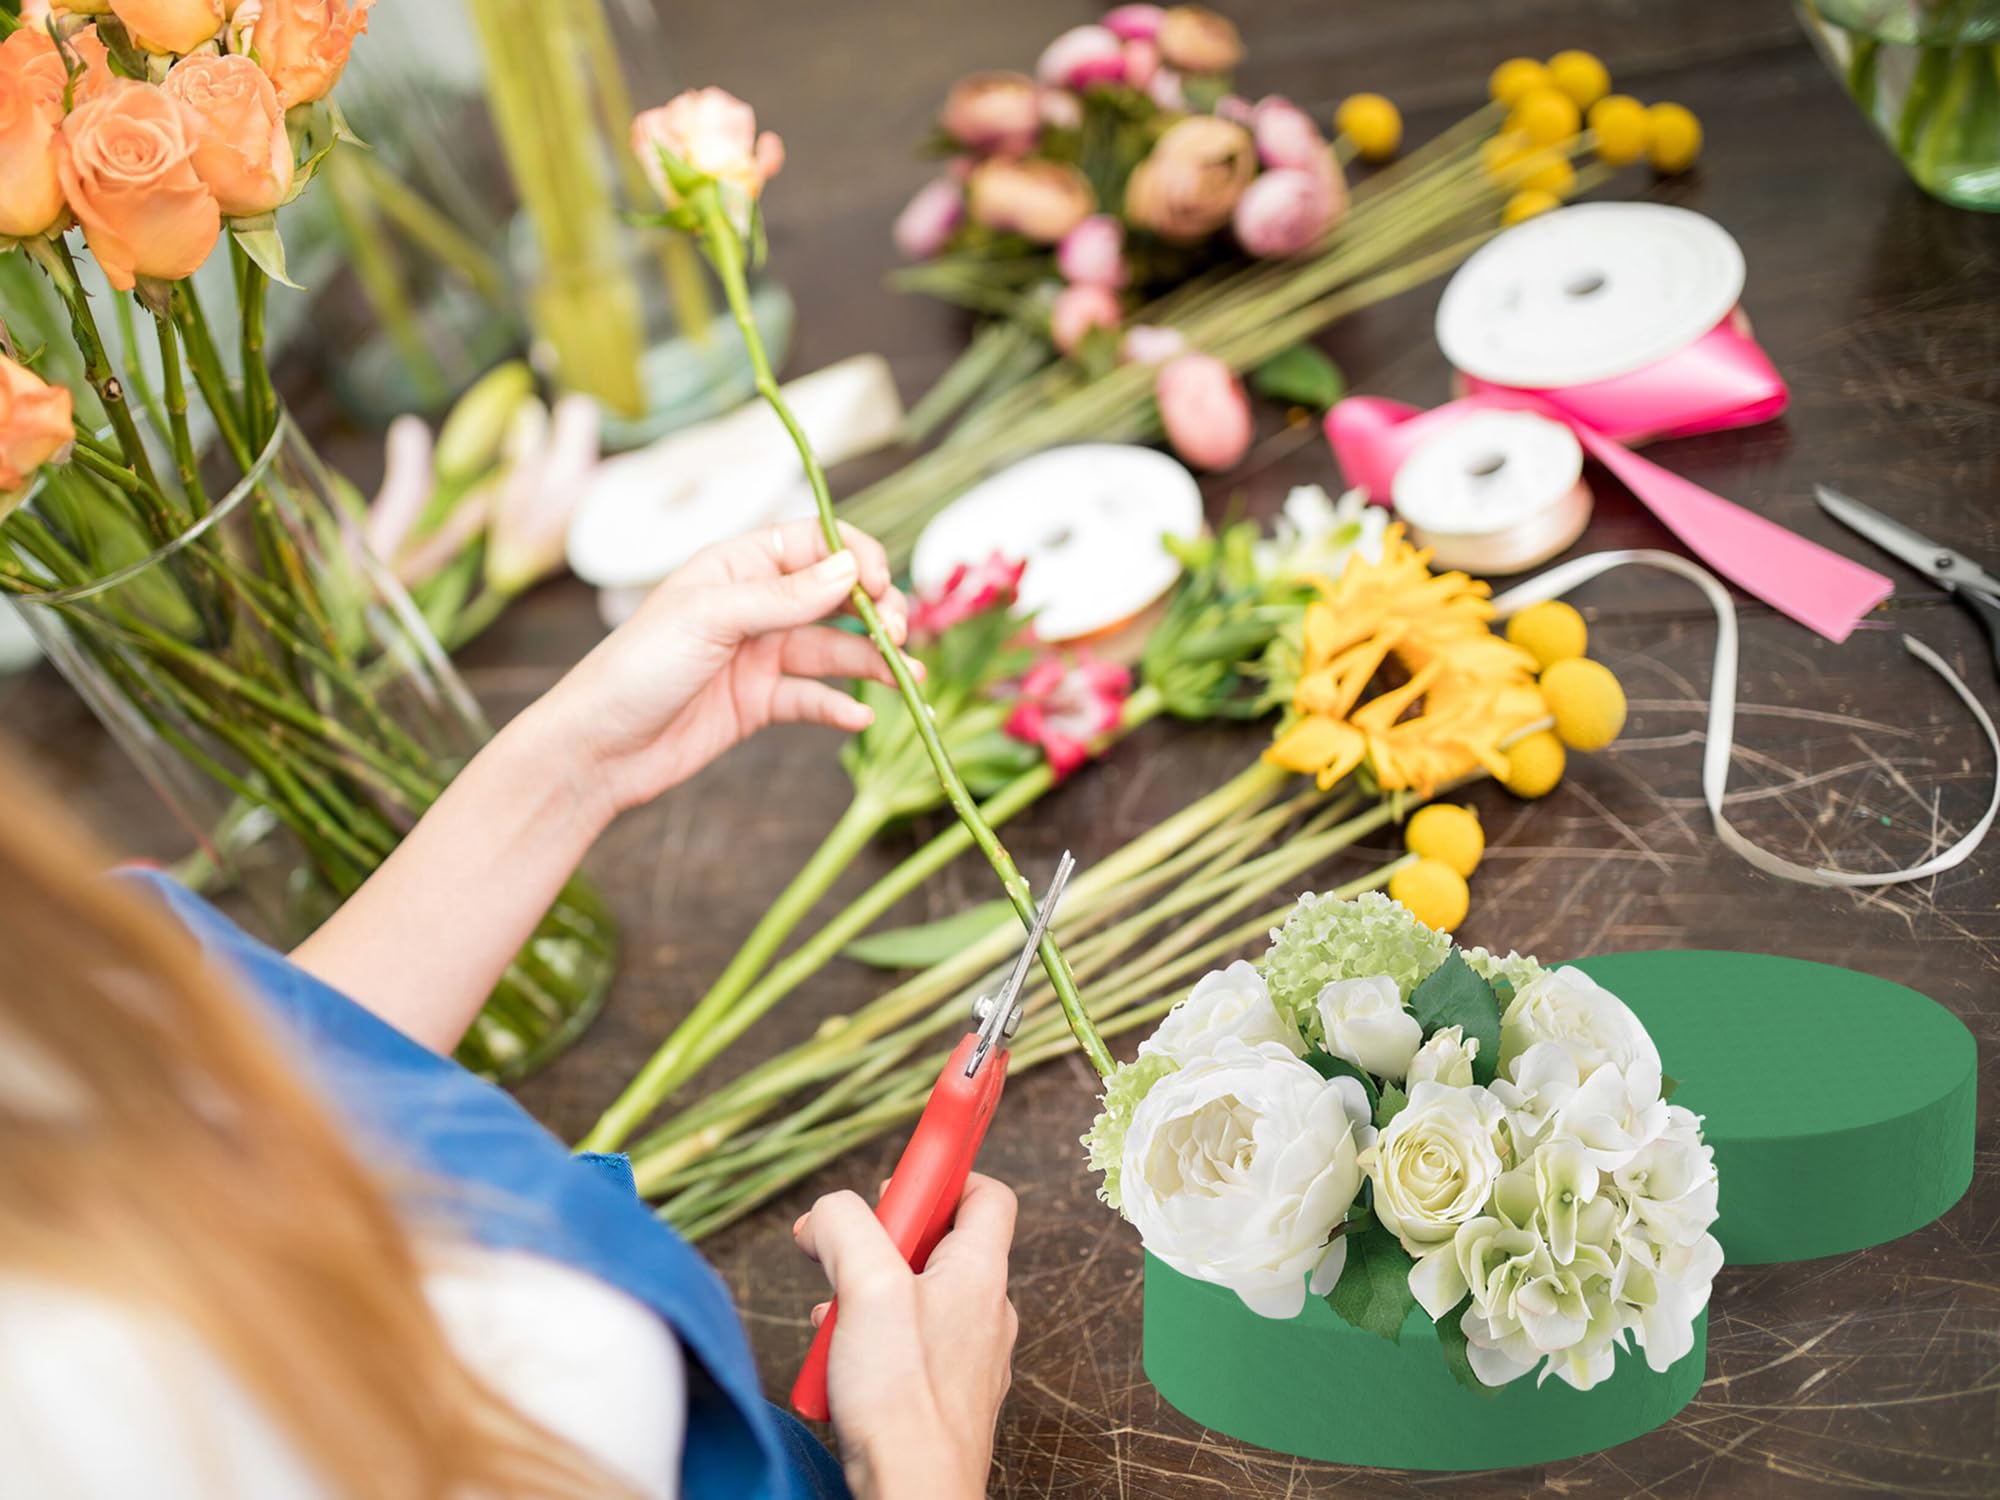
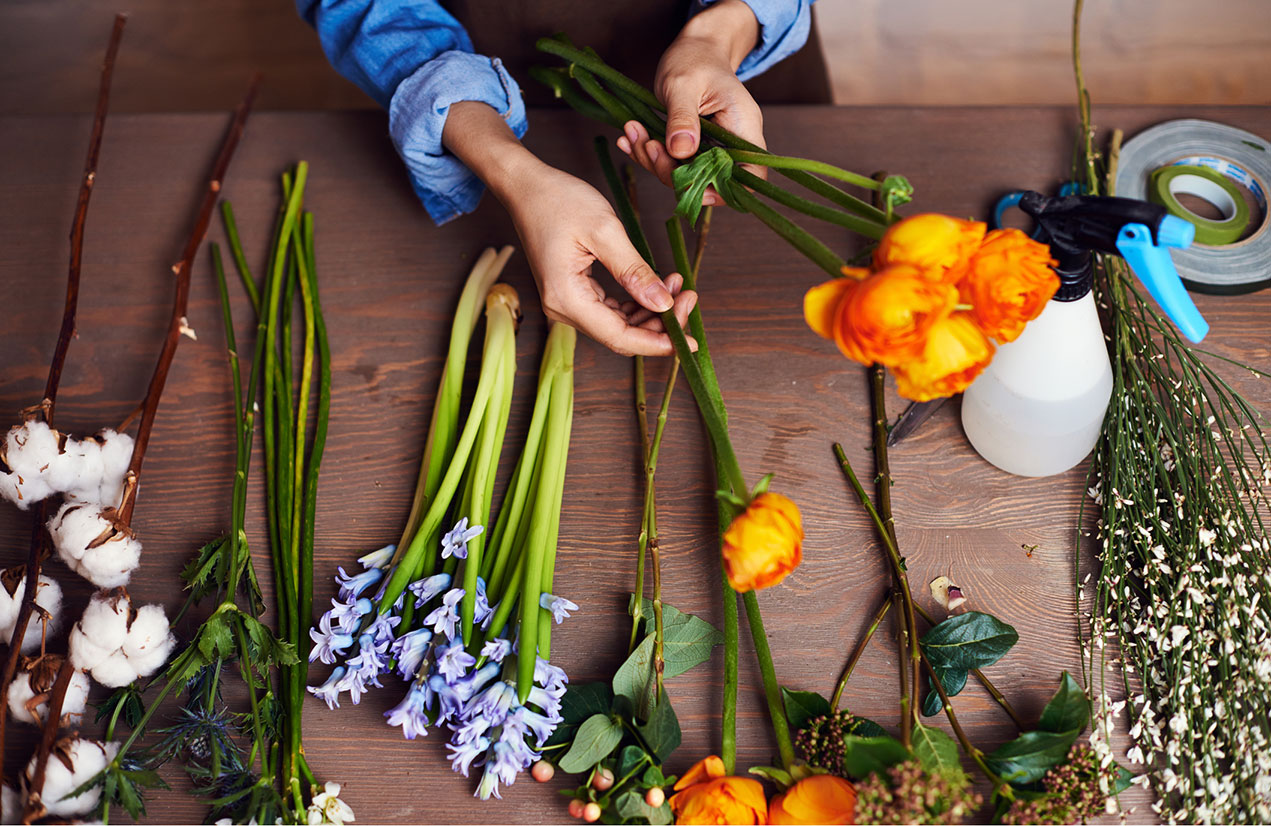
Step 2: Prepare and Trim Your Flowers
Before you start arranging, it’s crucial to prepare your flowers correctly. Remove excess leaves and any damaged petals from the stems. If there are extra buds on the same stem as a full bloom, trim those off to reduce competition for nutrients. Make a fresh diagonal cut at the bottom of each stem to enhance water absorption. Place the trimmed stems in a bucket of water with cut flower food to keep them fresh until you’re ready to arrange.

Step 3: Pick the Right Vase or Container
Choose a vase or container that complements the flowers and provides the necessary support. For example, straight-sided vases are great for tulips, while heavier flowers may need a sturdier, weighted base. Beyond traditional vases, you can also get creative by using woven baskets lined with a hidden plastic container to hold water.
Step 4: Prepare Your Vase
One of the key steps to a successful arrangement is ensuring a stable base for your flowers. To keep stems in place, create a grid of floral tape over the vase’s opening. Insert the stems through the grid holes, or use a floral frog (a pin holder for stems) for additional support. You can also DIY a floral frog with a small ball of chicken wire.
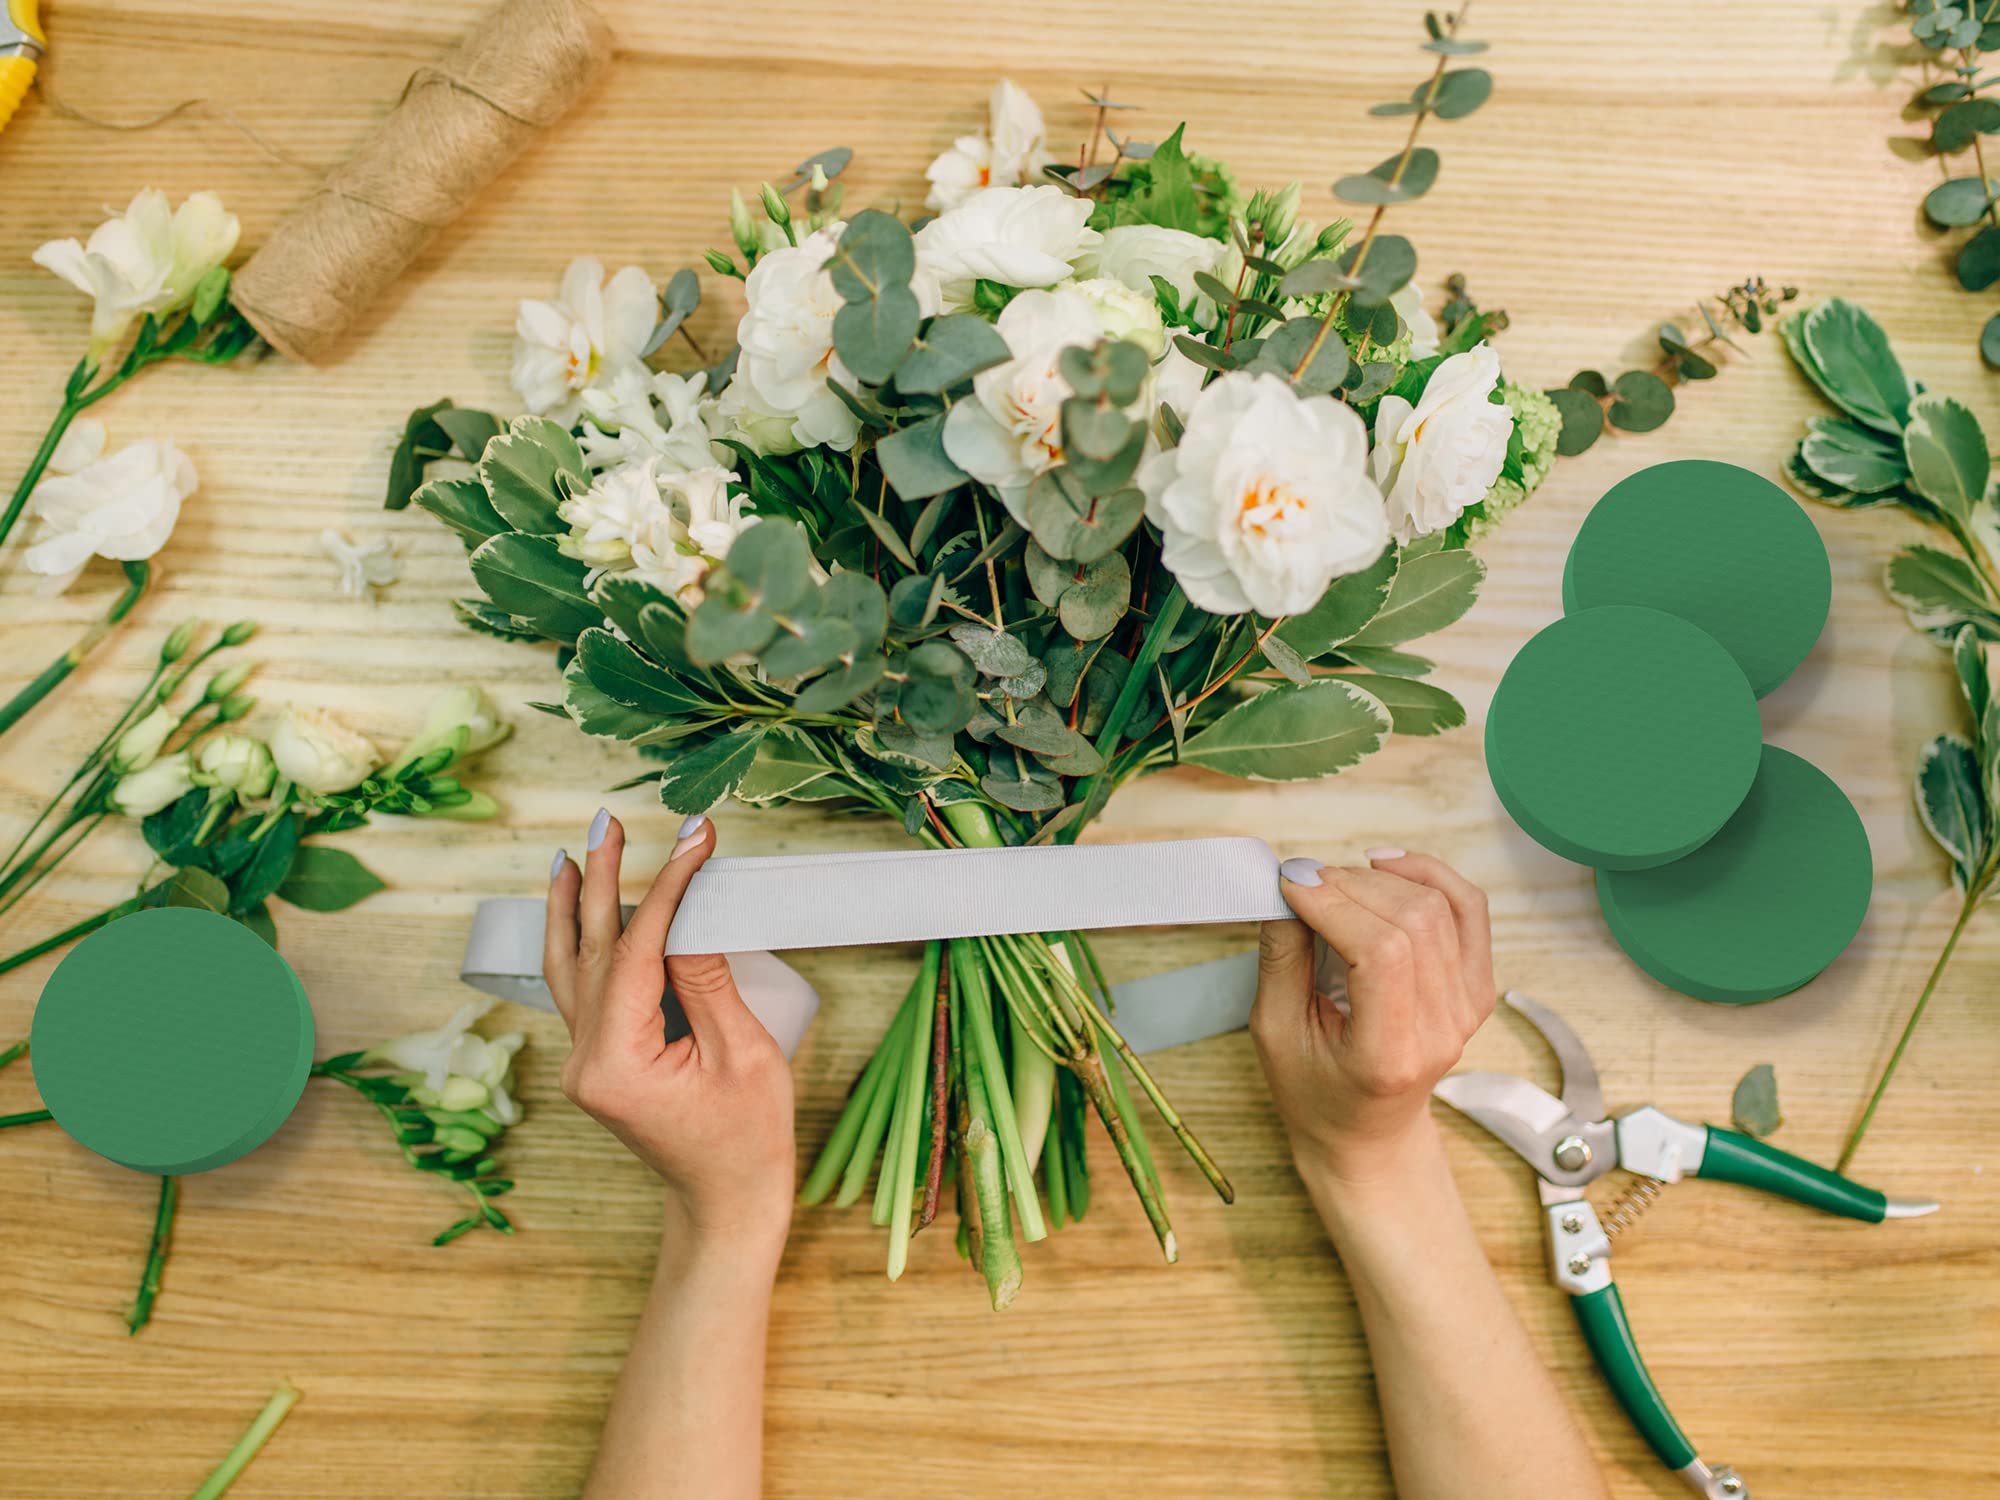
Step 5: Start with a Greenery Base
Begin your arrangement by adding greenery as the base. Use eucalyptus, ivy, or fern fronds to create an inverted triangular shape, providing both horizontal and vertical structure to your arrangement. Recut the stems of your greenery before placing them in the vase for better water uptake.
This foundation will add texture and depth, setting the stage for your blooms and ensuring that your arrangement has a balanced and cohesive look.
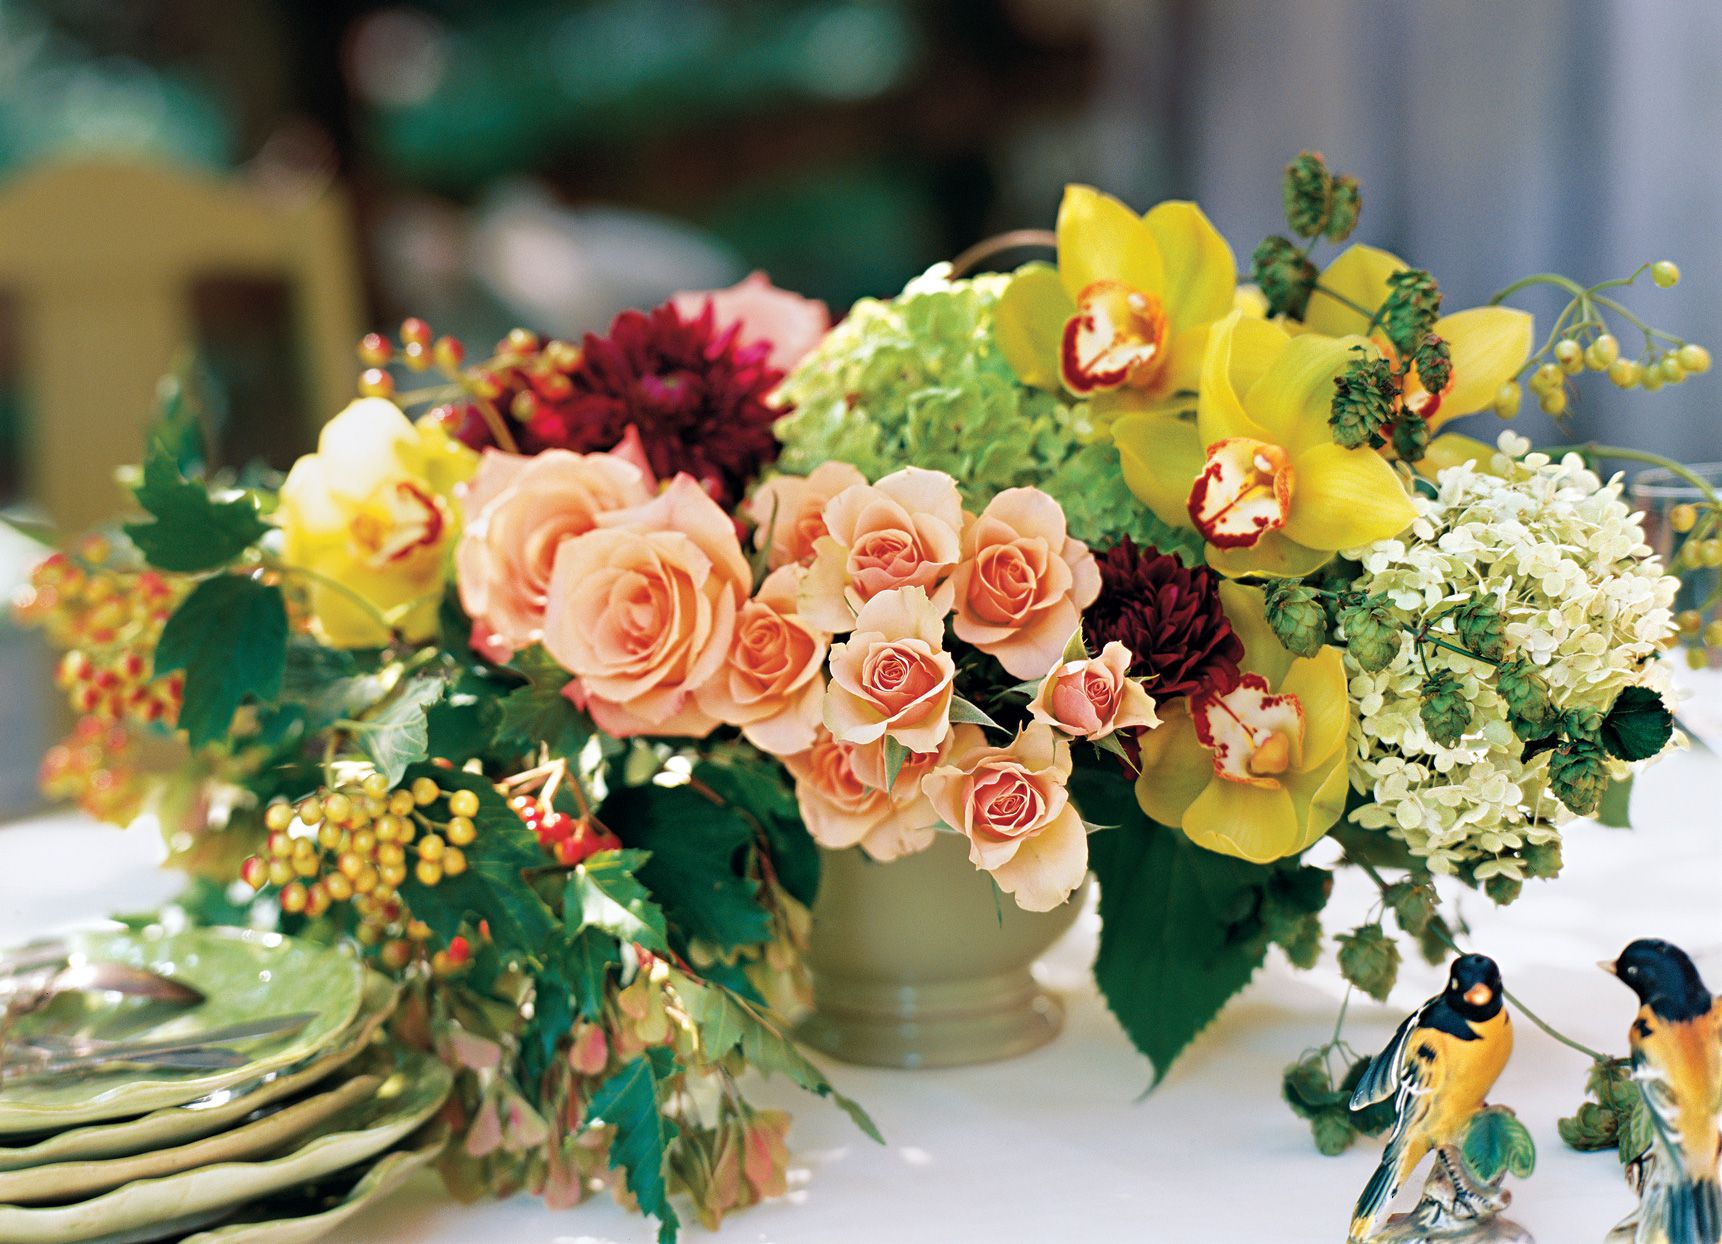
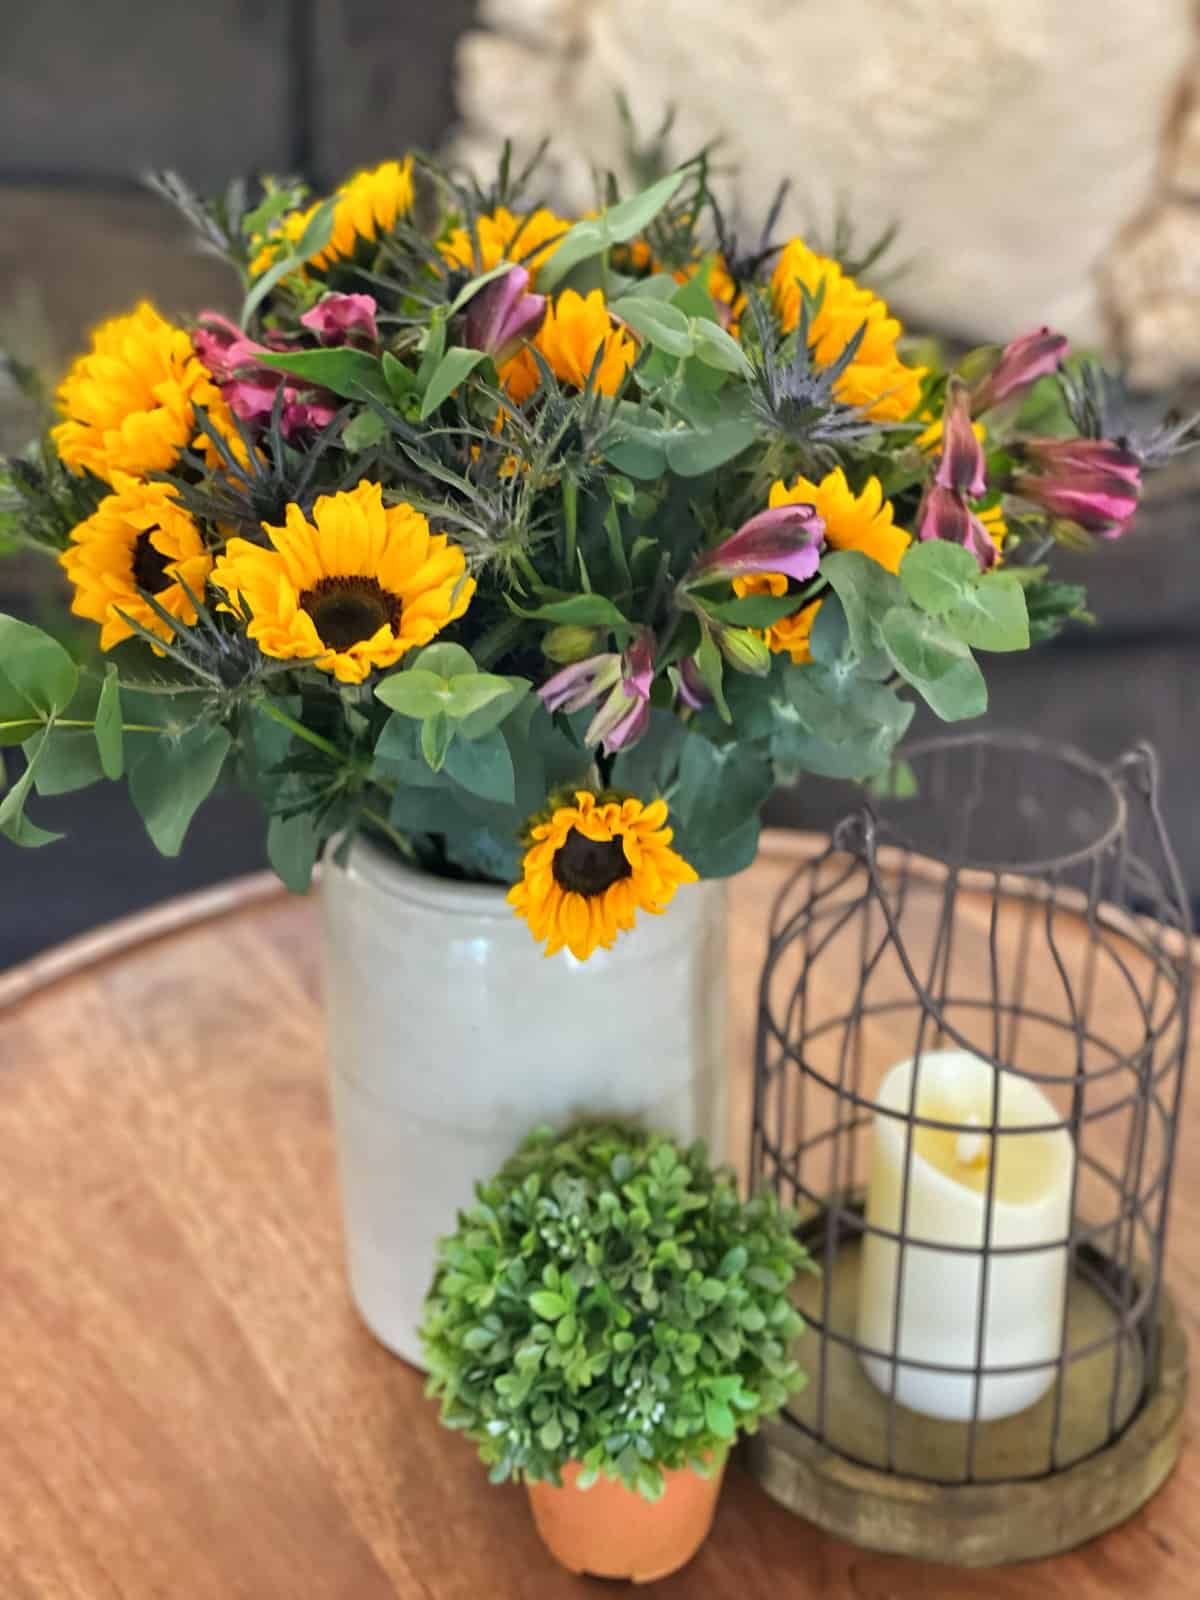
Step 6: Add Focal Flowers
Focal flowers are typically the largest or most eye-catching blooms due to their unique color or texture. To achieve a balanced, natural look, add focal flowers in odd numbers, such as three or five, which creates a less symmetrical and more organic appearance. Avoid placing these flowers so that they stick out horizontally; this can make them appear heavy and droopy instead of upright and vibrant. Using a lazy Susan can help you view and adjust your arrangement from all angles without moving the vase.
Step 7: Incorporate Filler Flowers
Next, add smaller flowers and textural elements to fill the space around your focal flowers. Place these supporting blooms strategically to create a dome-like shape, ensuring all sides of the arrangement are well-covered. Avoid placing all the filler flowers upright or directly to the sides; instead, use groups of three or five to mimic natural clustering. This approach adds depth and ensures your bouquet looks full and dynamic from every angle.
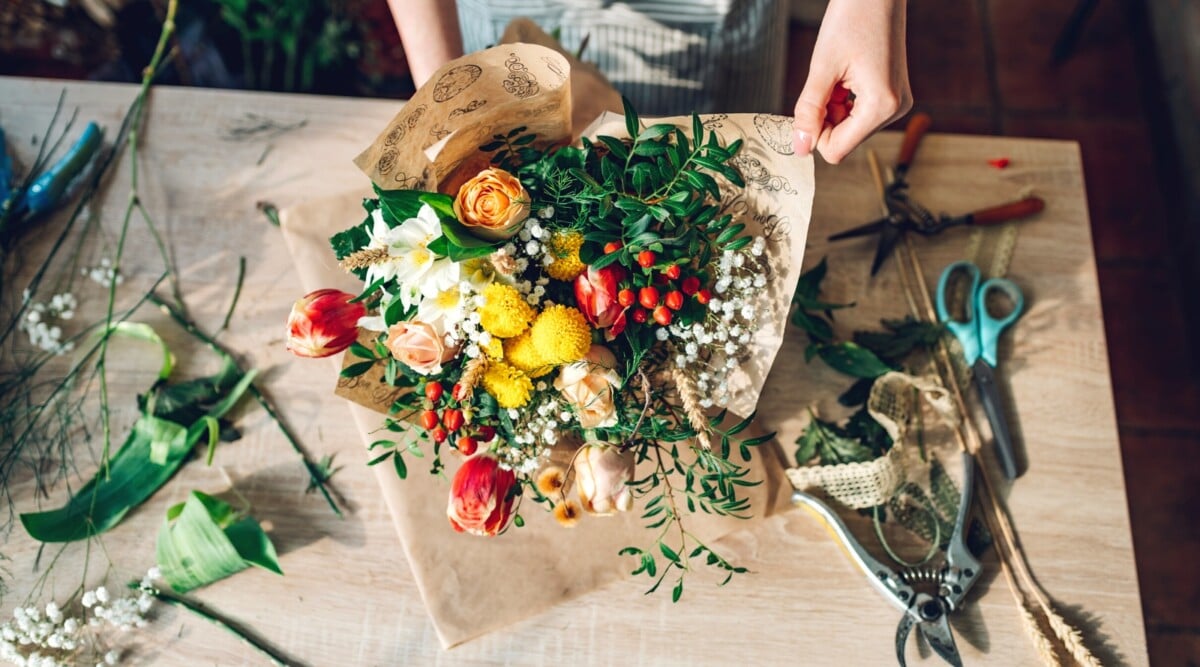
Step 8: Final Touches
Complete your arrangement with delicate finishing touches like baby’s breath, sedum, or yarrow. These smaller, airy blooms add softness and fill in any gaps, enhancing the overall look without overwhelming the main flowers. Place these light elements last to avoid crushing them under heavier blooms. Before displaying, lightly mist your finished arrangement with water to give it a fresh, dewy appearance. To keep your flowers looking their best, replenish the water in the vase as needed to maintain hydration and freshness.