To ensure your hardy chrysanthemums reach their fullest potential, they need plenty of nourishment. These colorful autumn flowers use a lot of energy, first growing lush foliage and strong stems, and later in the bud-setting and blooming process.
Chrysanthemums, a symbol of fall, bloom abundantly from early autumn until the first frost in vibrant seasonal shades of scarlet, gold, orange, and purple. Their showy blooms create a cheerful scene, whether adorning your front door or enhancing garden beds.
It takes significant energy to produce such a dazzling display, and timely, balanced fertilization can enhance this. With simple applications of organic amendments or fertilizers, mums will reward you with flowers throughout the season.
The Role of Fertilizer for Mums
In nutrient-rich, humus-laden soil, hardy mums can thrive and bloom without extra fertilizer. In such conditions, they tend to take on a more natural, cascading shape with their usual fall color display. This organic look works beautifully along walls or as a soft border in garden beds.

However, adding fertilizer can further enhance growth. These additional nutrients:
- Support the development of bushy, strong stems, resulting in more flowers than usual
- Prevent premature budding and flowering by promoting leafy growth before the bud stage
- Encourage vigorous growth with healthier leaves and more buds
Professional growers often use fertilizers to create the picture-perfect mums we see in the fall. Fortunately, home gardeners can achieve similar results with much less effort, using a range of organic amendments or liquid feeds.

Types of Fertilizers and Application
While fertilizers can greatly benefit mums, overuse or incorrect application can do more harm than good. Excess nitrogen can result in overly lush, weak growth, leading to leggy and floppy stems. Overfertilization can also limit the number of flowers and leave behind harmful salts in the soil that damage roots.
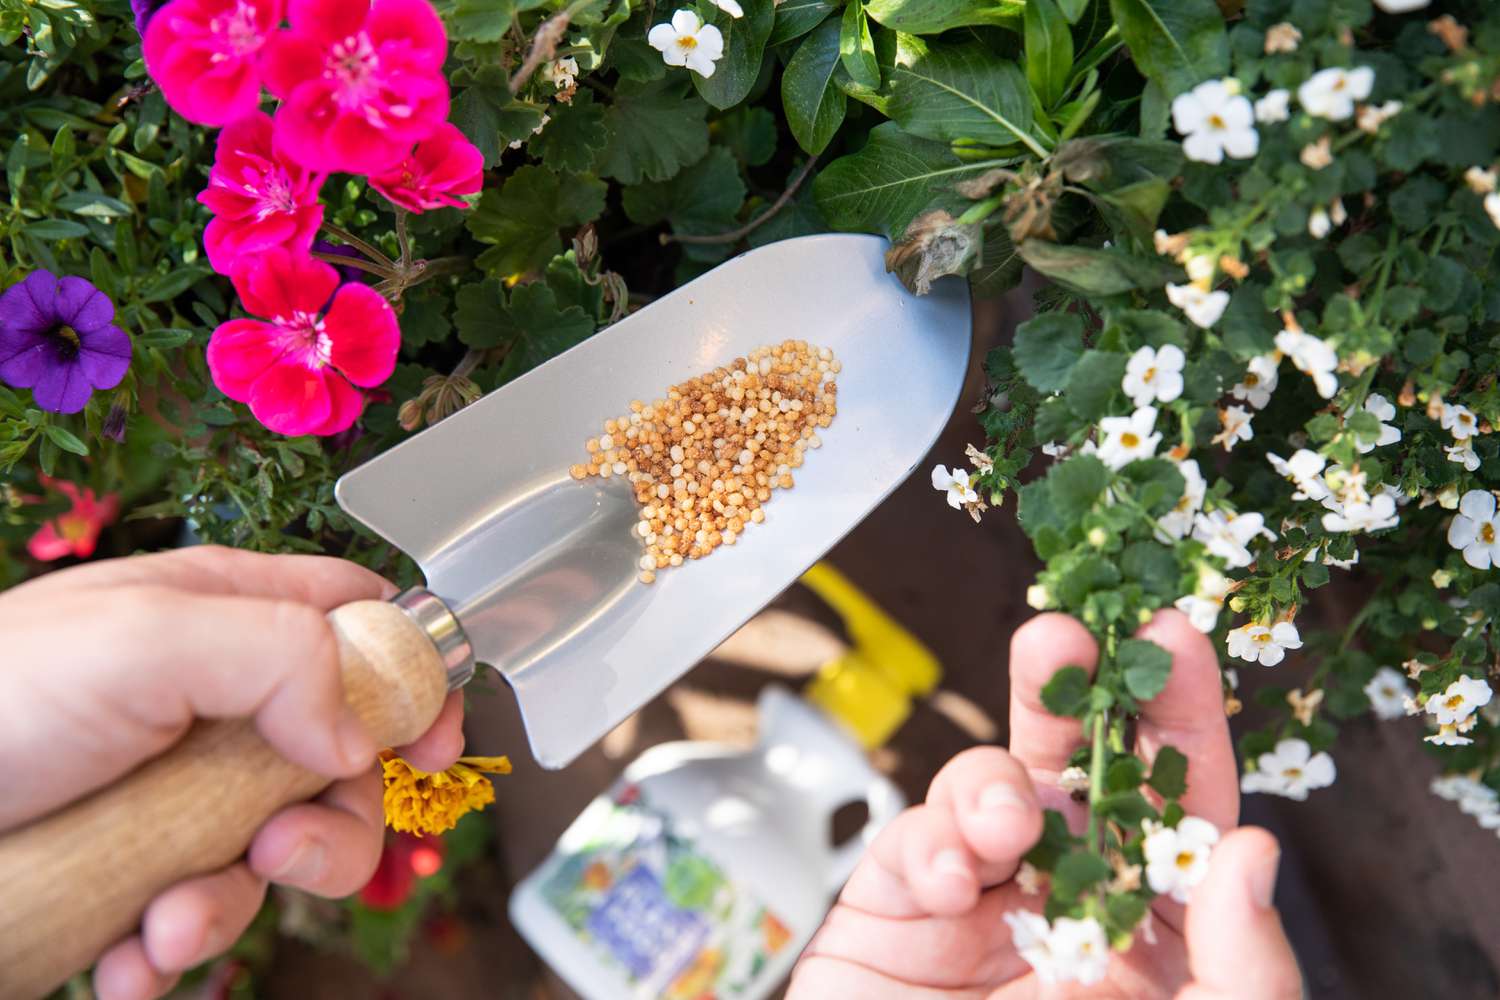
It’s important to fertilize at the right time and in the right way. Fertilization is most beneficial during the vegetative stage, helping support healthy leaf and root development. Before planting, amend the soil with compost or organic material, such as blood meal, bone meal, or greensand, to enrich the nutrients.
Here are the common types of fertilizers for mums:
- Soil amendments at planting/topdressing: Compost, leaf mold, blood meal, bone meal, greensand, alfalfa
- Controlled-release granular fertilizer
- Slow-release granular fertilizer
- Liquid feed: Water-soluble fertilizers or organic solutions like fish emulsion, kelp, or compost tea
When to Fertilize Mums
The best time to fertilize mums is before the buds develop and before the summer heat sets in, usually in spring and early summer. If you plan to compost or discard your mums at the season’s end, you don’t need to worry about fertilizing them.
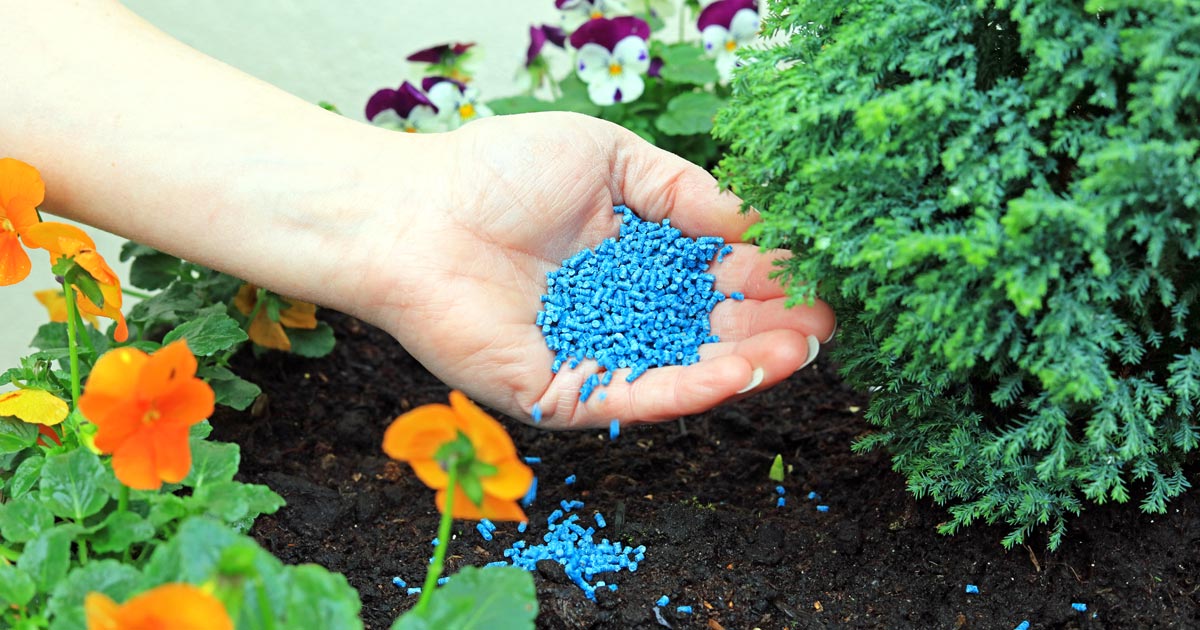
Always follow the recommended guidelines for fertilizer use to avoid overfertilizing. Aim for a balanced NPK ratio (Nitrogen-Phosphorus-Potassium) to support healthy growth. Nitrogen boosts leafy growth, phosphorus encourages strong root development and flowering, and potassium strengthens stems. For mums, avoid fertilizers with high phosphorus levels early in the season to prevent premature blooming.
Here are some general fertilization timings:
- Controlled-release granular fertilizer (e.g., 10-10-10, 7-6-5, 6-2-4): Apply in spring (April-May) and summer (June-mid-July)
- Liquid feed (e.g., 15-15-15): Apply monthly from April/May until mid-July when buds begin to form
- Slow-release granular fertilizer (e.g., 10-10-10, 8-8-8, 12-6-6): Apply once a season, typically in spring
Controlled-release fertilizers can last several months, releasing nutrients during warmer temperatures and when watered. Slow-release fertilizers provide nutrients throughout the entire growing season, while liquid feeds require monthly applications as they are quickly absorbed by the plant.
Growth Stage Considerations
For mums planted in garden beds or containers, use a balanced fertilizer during planting. If you’re transplanting divisions or nursery-potted mums, wait a few weeks before applying fertilizer to give the plants time to establish their roots. Nursery-potted mums are usually fertilized before being sold.

For established perennials, begin fertilizing in the spring after the last frost, when new growth reaches 4-6 inches in height.
Stop fertilizing in early to mid-summer, when buds start to form. At this point, mums need to focus their energy on flowering rather than leaf growth. In the fall, you might consider using a high-phosphorus fertilizer to promote root growth without affecting flowering.

How to Fertilize Mums
When fertilizing mums, apply fertilizer early in the day when the sun isn’t at its peak to avoid potential plant burn. Cloudy or overcast conditions are ideal, and it’s important to water the plants and rinse the roots immediately after applying granular fertilizers. If planting mums in poor soil, use about 1 to 1.5 pounds of fertilizer per 100 square feet and work it into the soil.
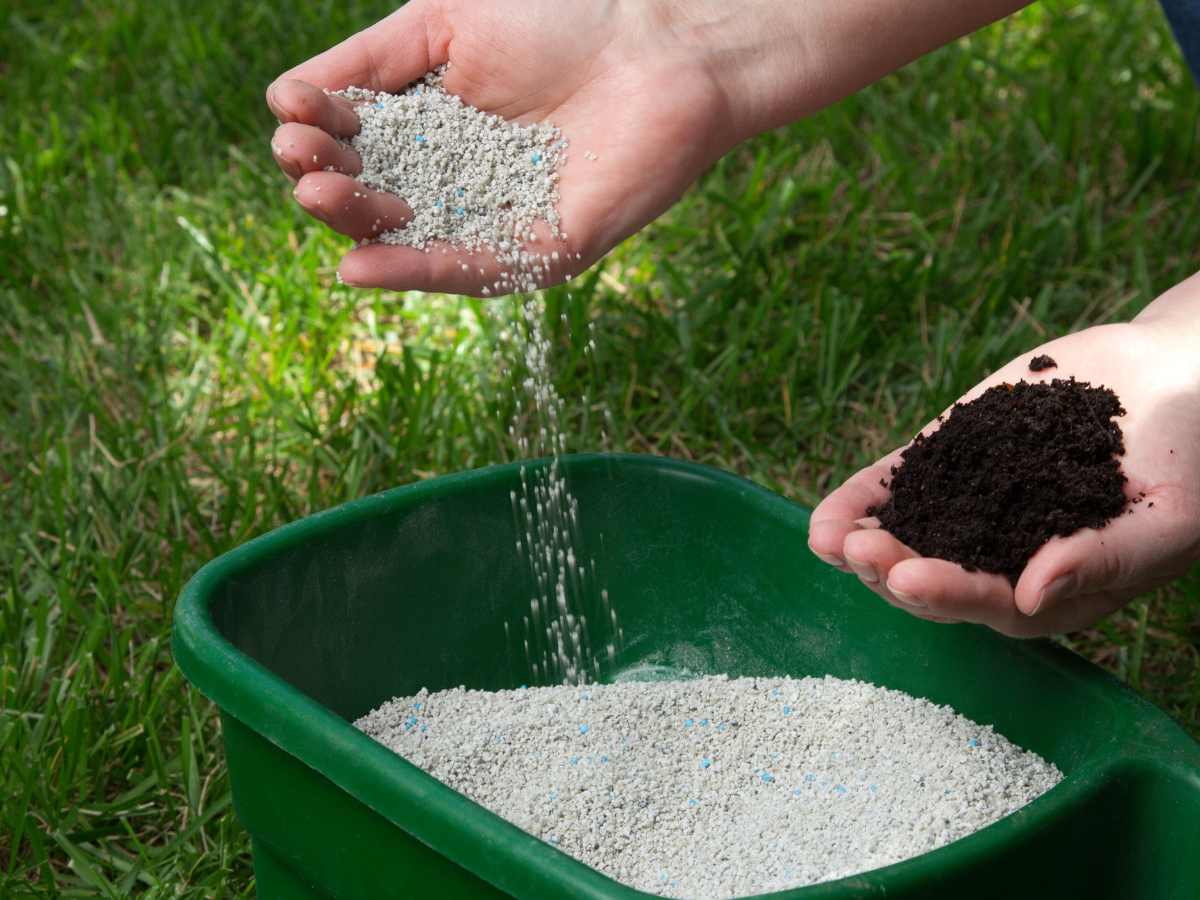
When using granular fertilizer, spread it evenly around the plant’s base, keeping it away from the stems to avoid hot spots that could cause burn damage. For liquid or water-soluble fertilizers, apply them as both a foliar feed and root drench, spraying the leaves and root zone to distribute the nutrients. Since plants absorb liquid feed quickly, it needs to be applied more often than granular fertilizers.
Consider the Soil pH
Mums thrive in well-drained, rich, loamy soils with a neutral to slightly acidic pH, ideally between 6.5 and 7.0. If your mums’ leaves turn yellow despite proper watering and fertilization, it could indicate a pH imbalance.
Beneficial microorganisms work best in neutral to slightly acidic soils, and an incorrect pH level can hinder the plant’s ability to absorb nutrients. High pH (alkaline) soils make nutrients less soluble, resulting in yellow leaves (chlorosis) and weak growth. In this case, adding iron can alleviate chlorosis in the short term, while garden sulfur can gradually lower the soil’s pH to a more suitable level.

In low-pH (acidic) soils, macronutrients like calcium, phosphorus, and magnesium are less available to the plant. High levels of aluminum in acidic soils can become toxic to mums. To correct this, adding calcium (like crushed eggshells) and magnesium (such as Epsom salts) can help. Amending soil in the fall with garden lime will balance the pH for the next growing season.
A soil test is the best way to determine pH levels. At-home soil testing kits can provide results and recommendations for adjustments, while local university extension offices can also assist with testing and advice.

Post-Bloom Care
Mums are best planted in either the fall or spring. However, if you plant nursery mums late in the fall, there’s a risk they won’t survive the winter because their energy is focused on blooming rather than root development. To protect their roots, apply a layer of mulch around the base. After the first heavy frost, cut back the stems as the plant enters winter dormancy. Adding a light layer of mulch or evergreen boughs on the crowns provides extra protection from frost heaving, which can expose and damage roots during the freeze-thaw cycle of winter.

Mums can also overwinter in containers. Transfer nursery mums to a larger pot and move them to a cool, sheltered location like a garage or basement in colder climates. Check the soil periodically to ensure the roots don’t completely dry out, but hold off on fertilizing until new growth appears in the spring.
Key Takeaways
Hardy chrysanthemums can thrive without fertilizer when planted in nutrient-rich soil, but fertilizer can help boost their growth. Use organic amendments, granular, or liquid fertilizers to promote sturdy stems and abundant blooms.
- Apply fertilizer in spring and early summer, depending on the type
- Fertilize at planting and during vegetative growth until buds form
- Enjoy the autumn blooms before preparing perennials for winter
