
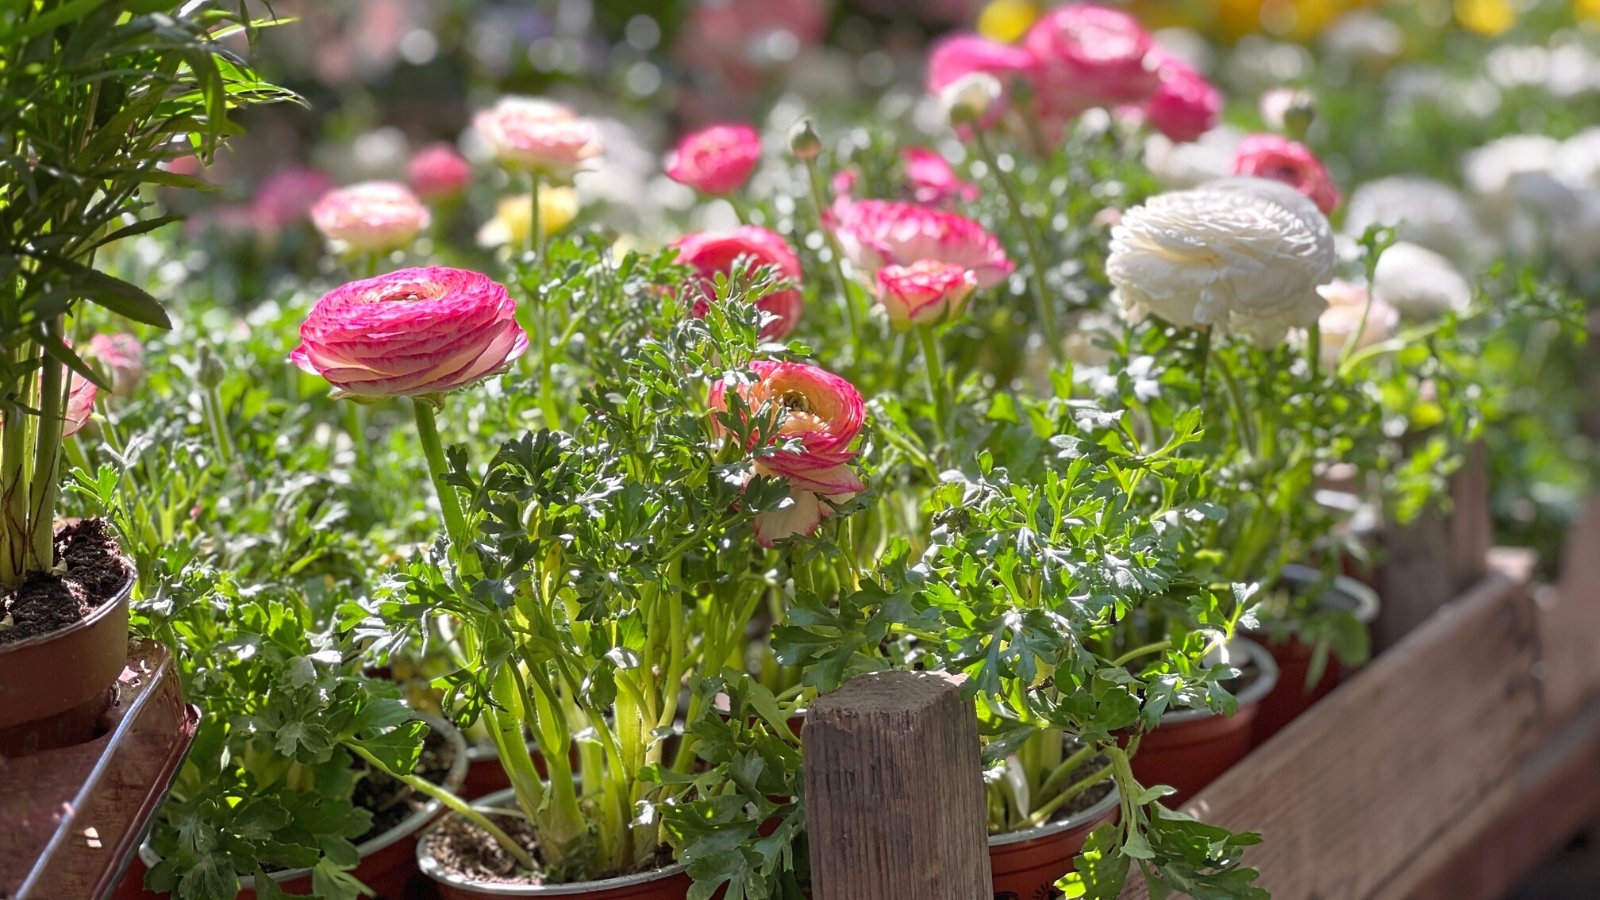
Ranunculus, part of the buttercup family, are admired for their slender stems and vibrant, colorful blooms, making them popular as cut flowers.
Though they can be a bit picky about their growing environment, ranunculus are resilient plants that, when properly cared for, reward gardeners with an abundance of beautiful blooms.
These tender perennials are sensitive to both cold and heat. They thrive best in the mild, cool temperatures of spring. However, when temperatures consistently exceed 70°F (21°C), the plants stop blooming and enter dormancy.
To extend their flowering period, it’s important to protect them from excessive heat. Many gardeners use shade cloth as temperatures rise to keep the plants cooler.
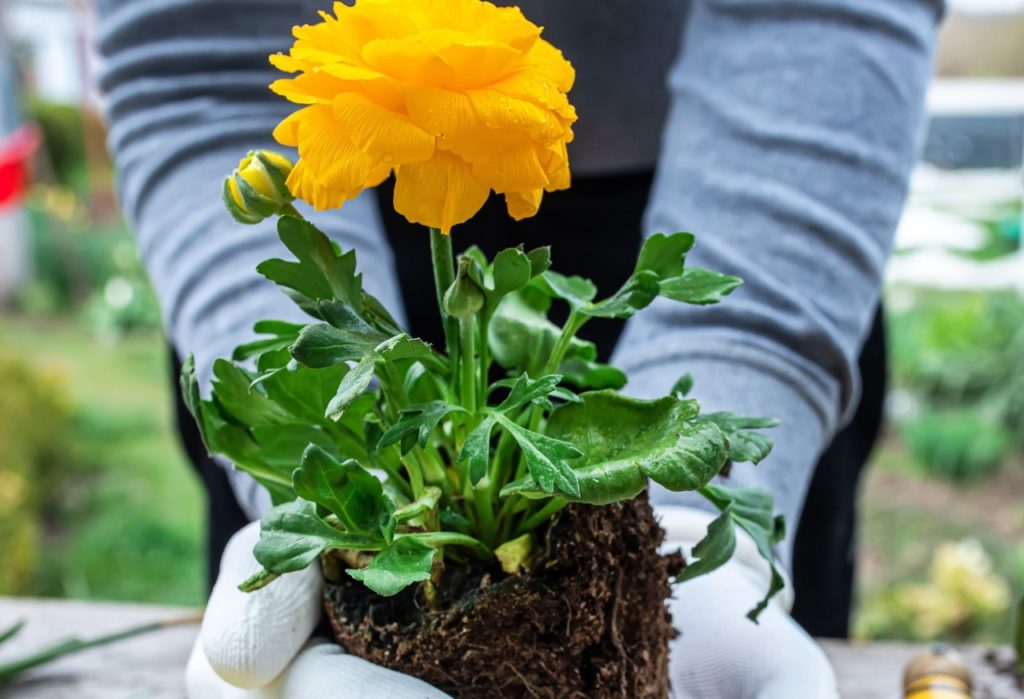
Another excellent approach is to grow ranunculus in containers that can be moved as needed. While these plants prefer full sunlight, they will continue to bloom longer if given some shade. Growing them in pots allows you to adjust their position based on the weather conditions.
Growing ranunculus in containers is as easy as cultivating them in garden beds, provided you follow a few key tips. With the right care, you’ll have beautiful blooms in a matter of months.
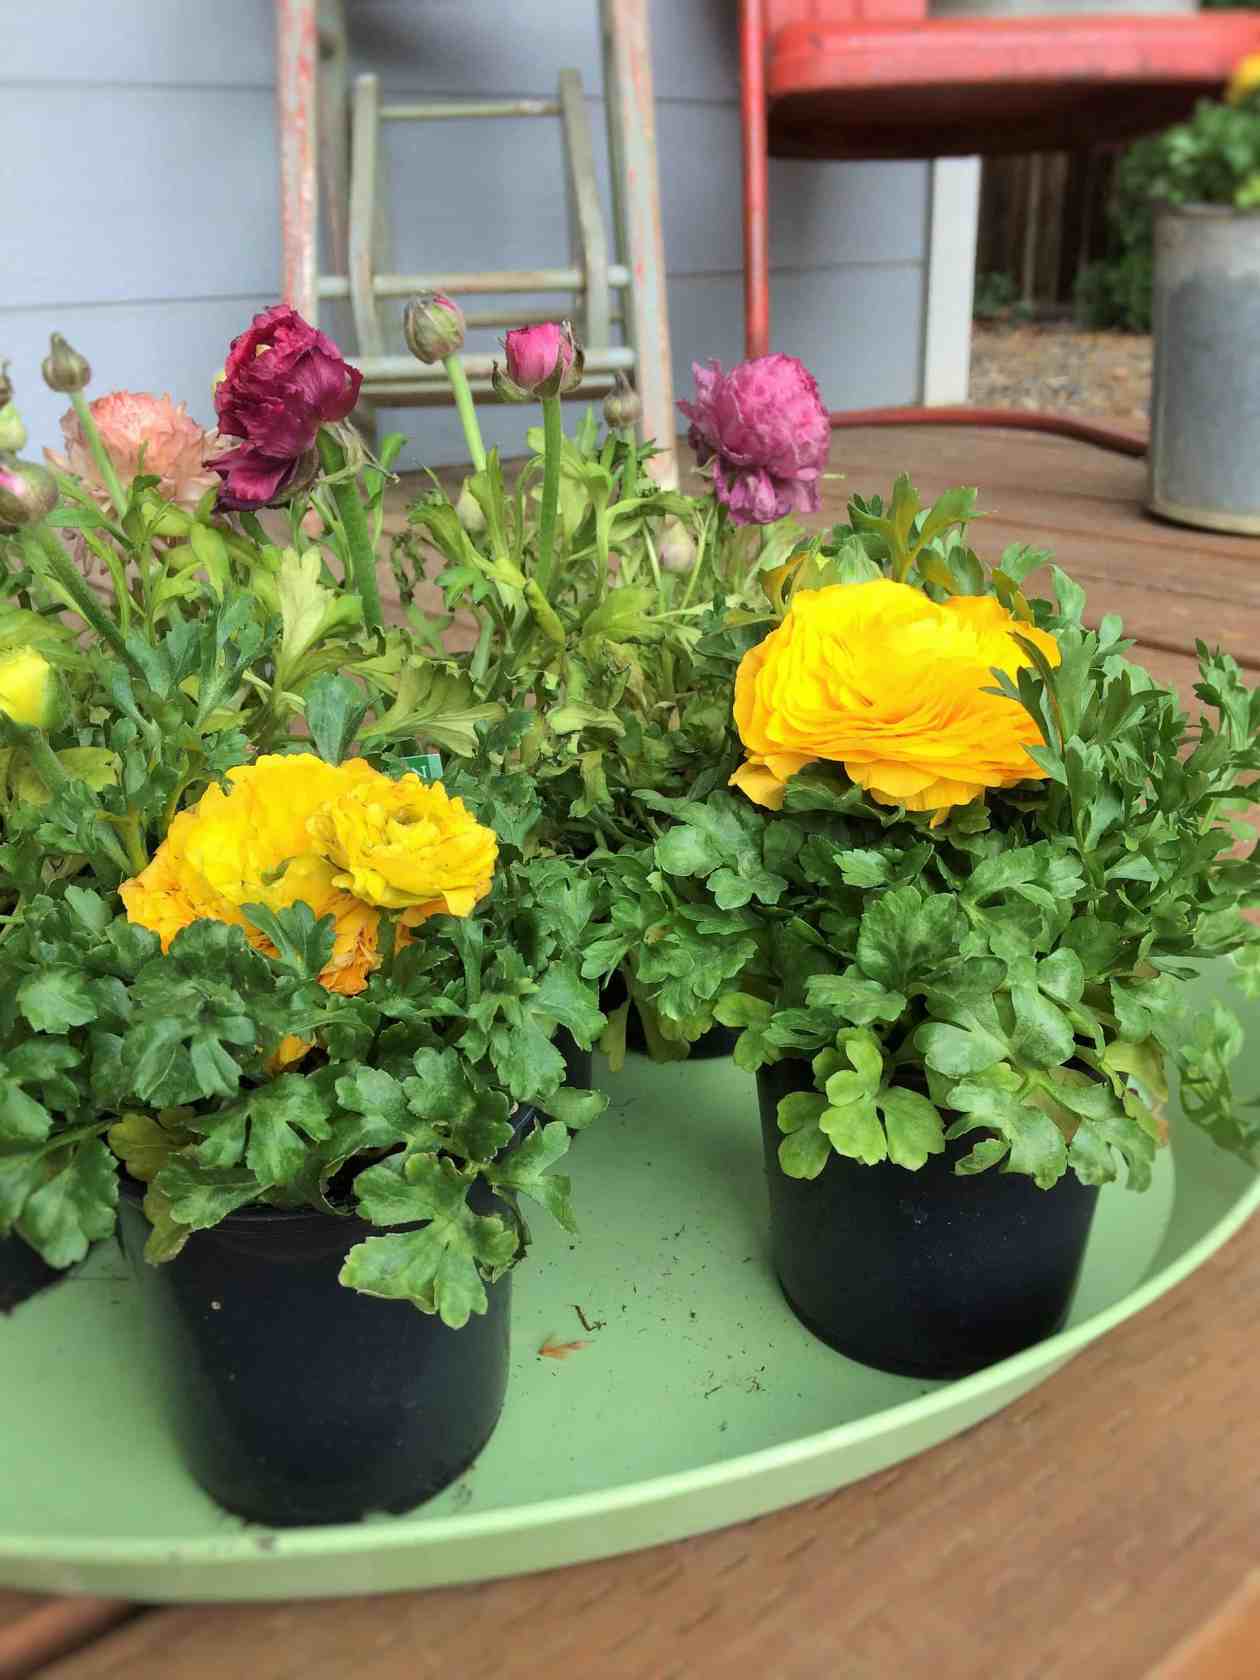
Select Your Varieties
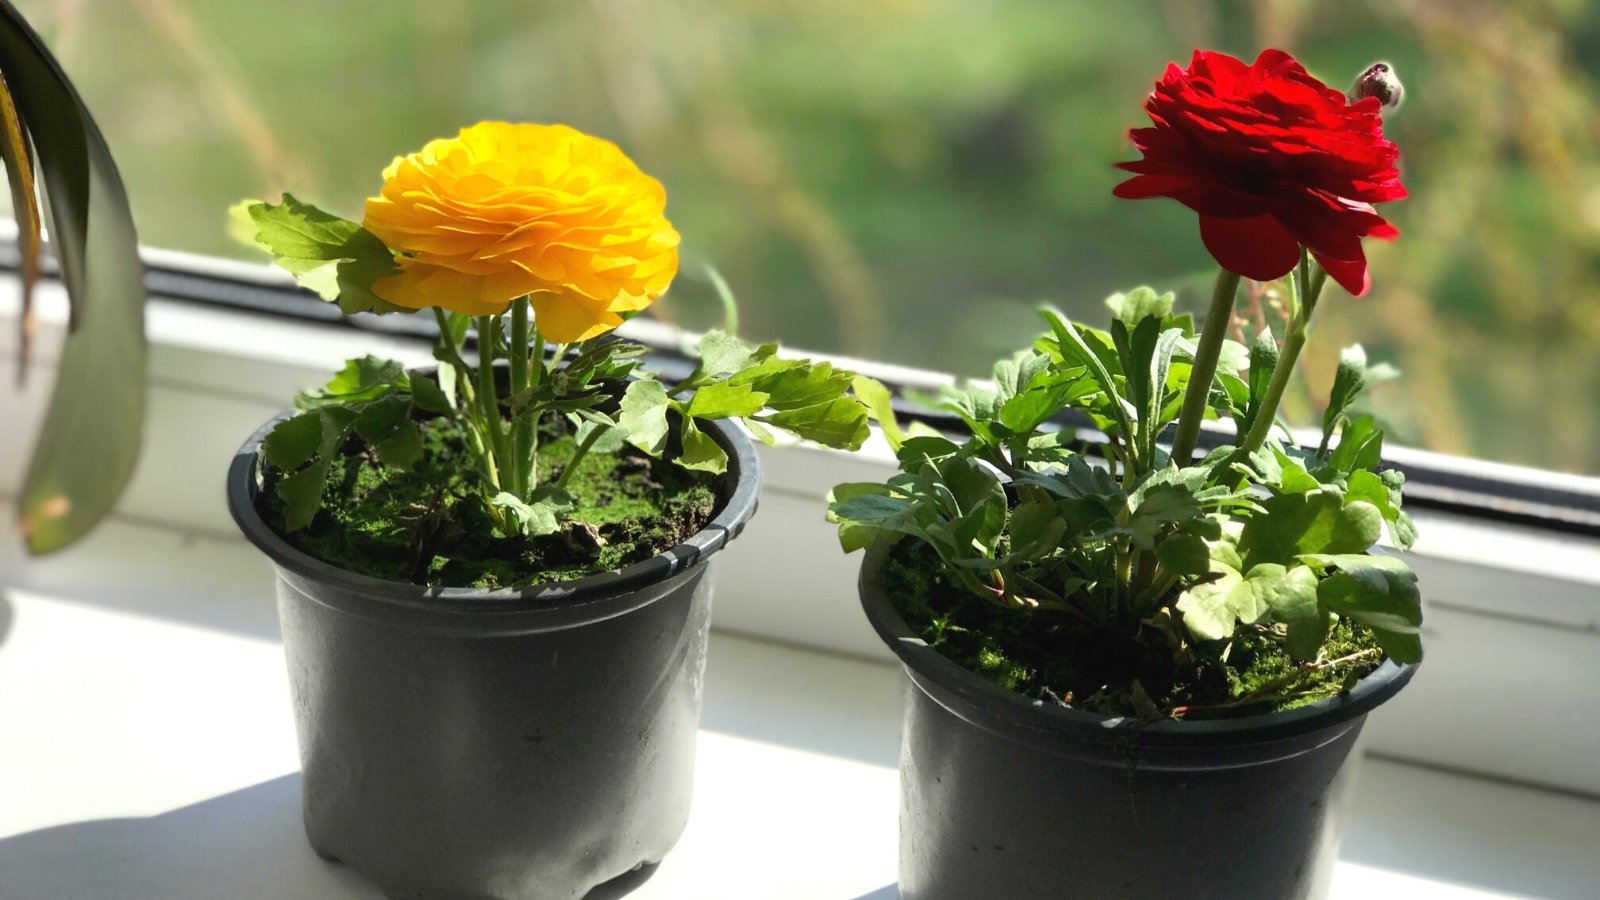
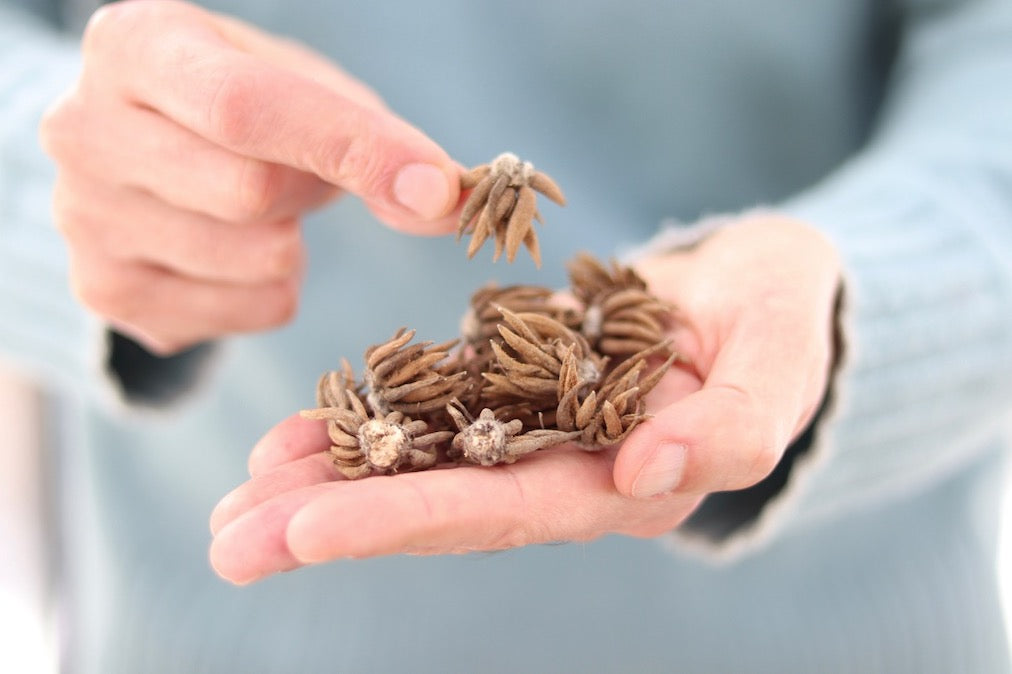
Ranunculus come in many varieties, offering a wide range of colors and flower forms. Their tightly packed, delicate petals make them highly desirable among florists, particularly for weddings.
When I first ordered ranunculus corms, I was overwhelmed by the number of varieties available. It was hard to choose just one or two types! You can purchase corms individually or in bulk, with larger quantities often providing better value.

I enjoy a mix of colors, so I opted for small quantities of several varieties. This decision is entirely personal; no particular variety is harder to grow than another.
Plant at the Right Time
The best time to plant ranunculus corms depends on your climate. These plants are perennial in USDA Zones 8-11, and with some protection, they can survive in Zone 7. In Zone 7, treat ranunculus grown in containers like annuals, as they lack the frost resistance that in-ground plants enjoy.
Ranunculus grown in containers are more vulnerable to cold than those planted in the ground. While in-ground corms can tolerate light freezing, those in pots are less protected because the soil in containers offers less insulation.
In warmer regions, you can plant ranunculus in the fall, allowing them to grow through the winter and enjoy a longer blooming season in the spring. Since these plants prefer cool weather, aim to give them as much blooming time as possible before summer heat arrives.
In cooler climates, wait until spring to place ranunculus outdoors in containers. While the plants are somewhat frost-tolerant after sprouting, it’s best to wait until the threat of frost has passed.
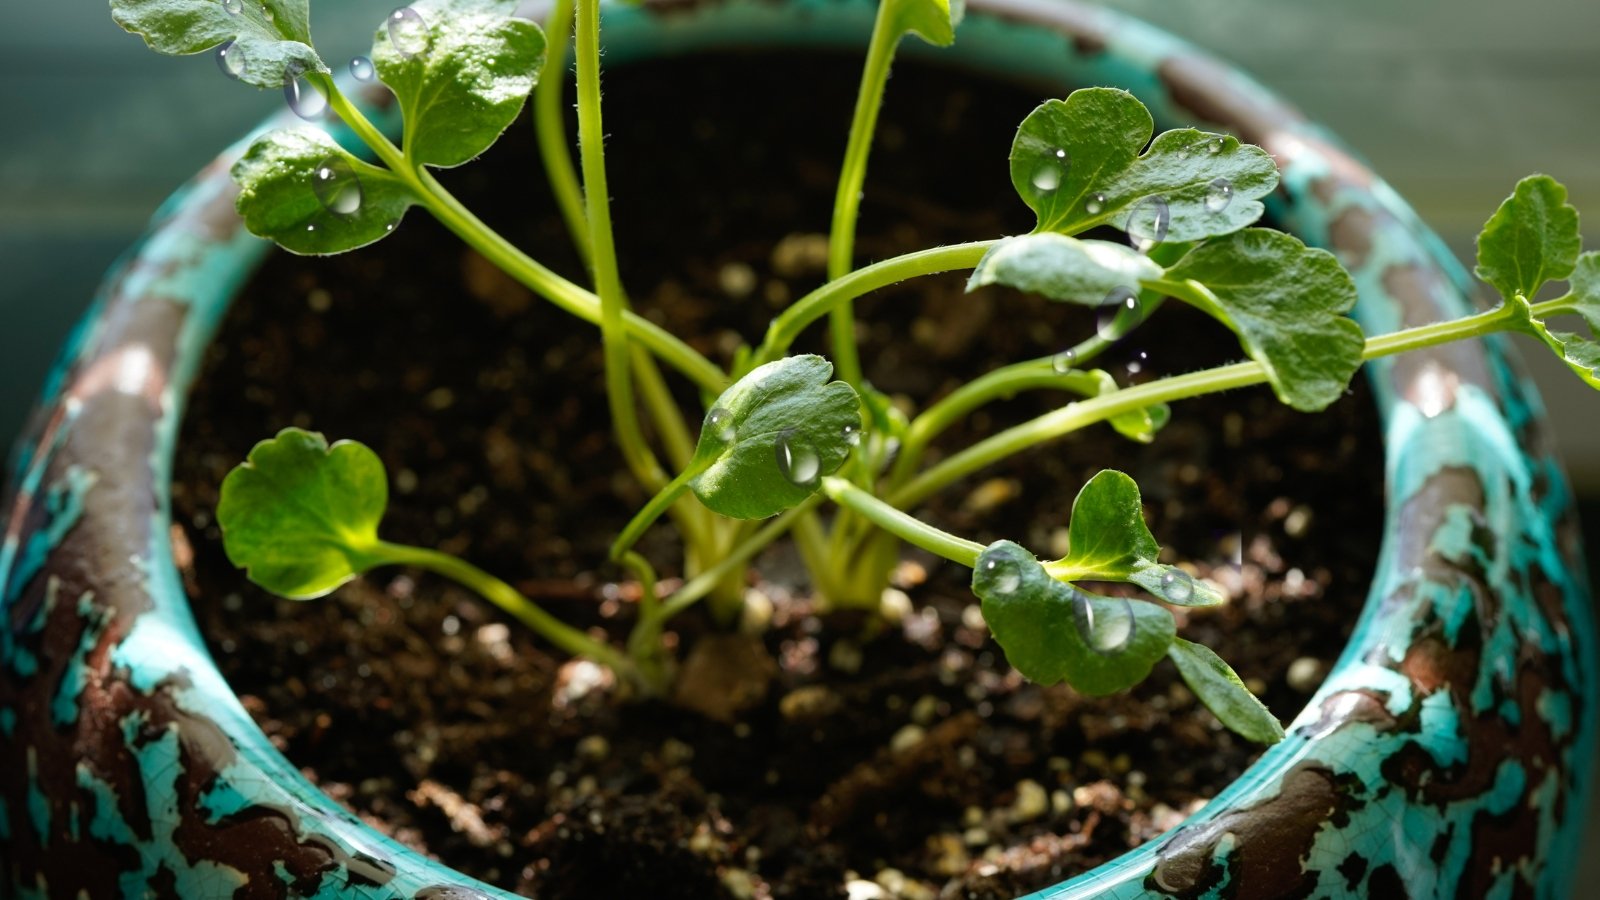
Choose the Right Pot
When selecting containers for ranunculus, focus on width rather than depth. These plants have shallow root systems but prefer some space to spread out. As a general rule, you can plant one corm in an 8-inch pot, two in a 12-inch pot, and three in an 18-inch pot. Feel free to go larger, but stick to this ratio for the best results.
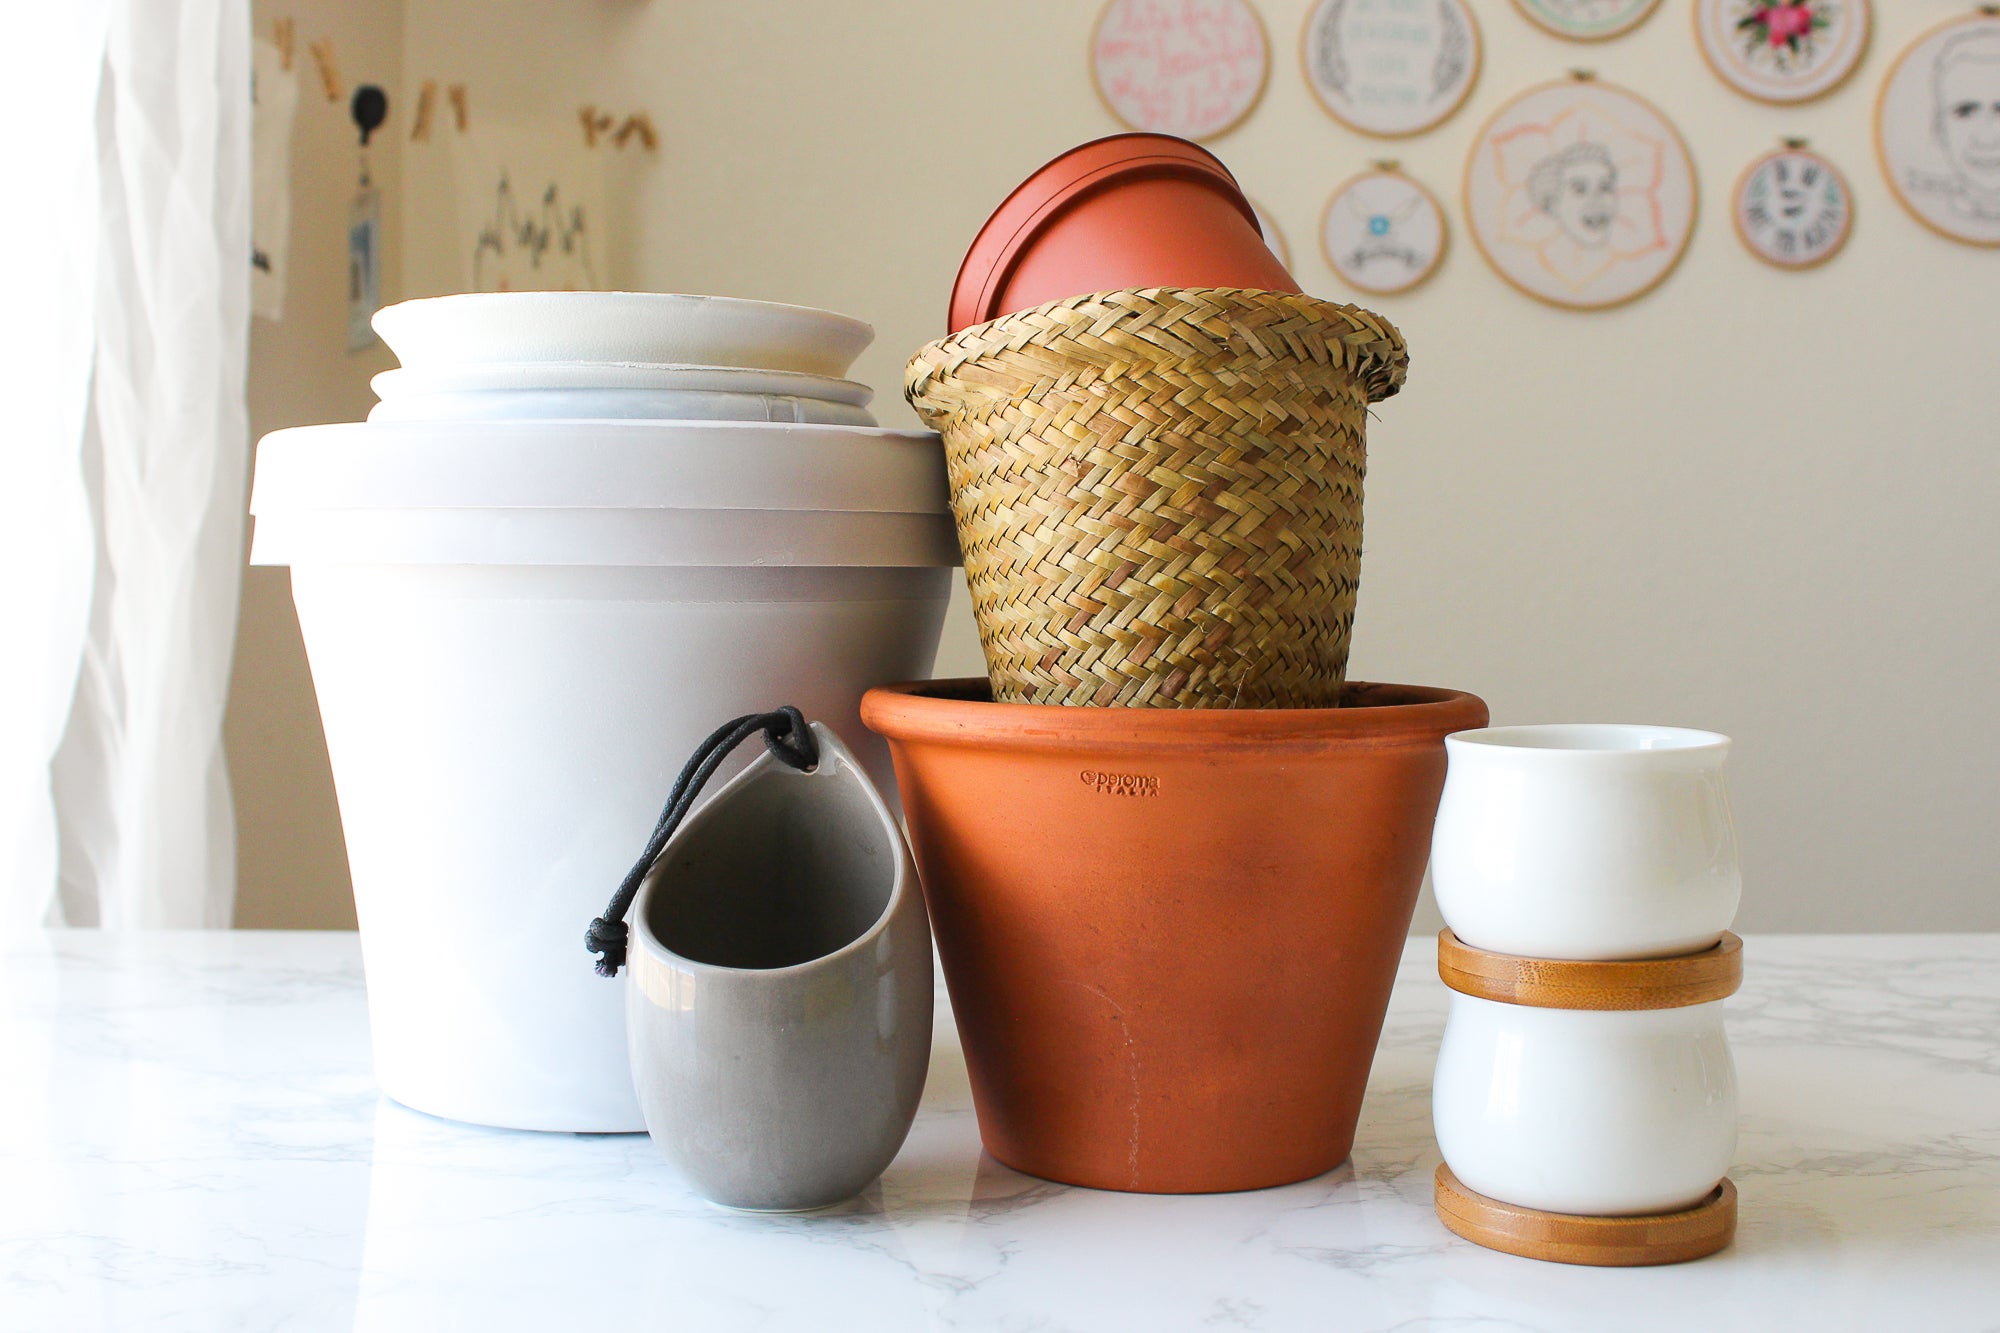
Good drainage is crucial, so make sure the container has plenty of drainage holes. If the corms or roots become waterlogged, they may develop root rot. Terracotta pots are an excellent choice for growing ranunculus, as they help wick moisture away from the soil, reducing the risk of fungal issues.
Use the Right Soil
When selecting soil for your ranunculus, consider two main factors: drainage and nutrient content. Ranunculus roots are sensitive to both overwatering and fungus. If the potting mix is too dense and doesn’t drain well, you might encounter problems.
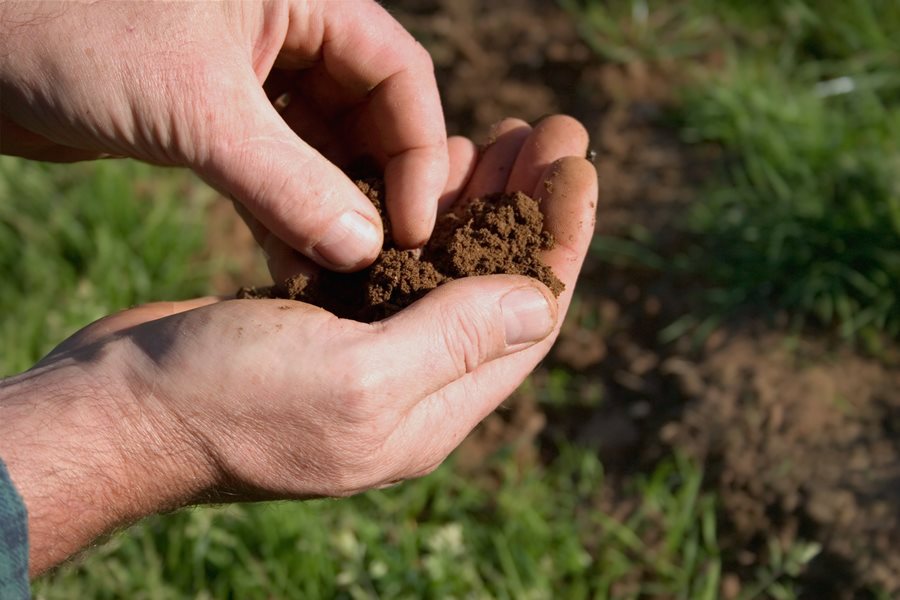
Equally important is ensuring that the soil is nutrient-rich. Ranunculus thrive in loamy, organically rich soil. Most standard potting mixes are suitable, but for an added boost, you can mix in compost. This will help nourish your ranunculus and support healthy growth from the start.
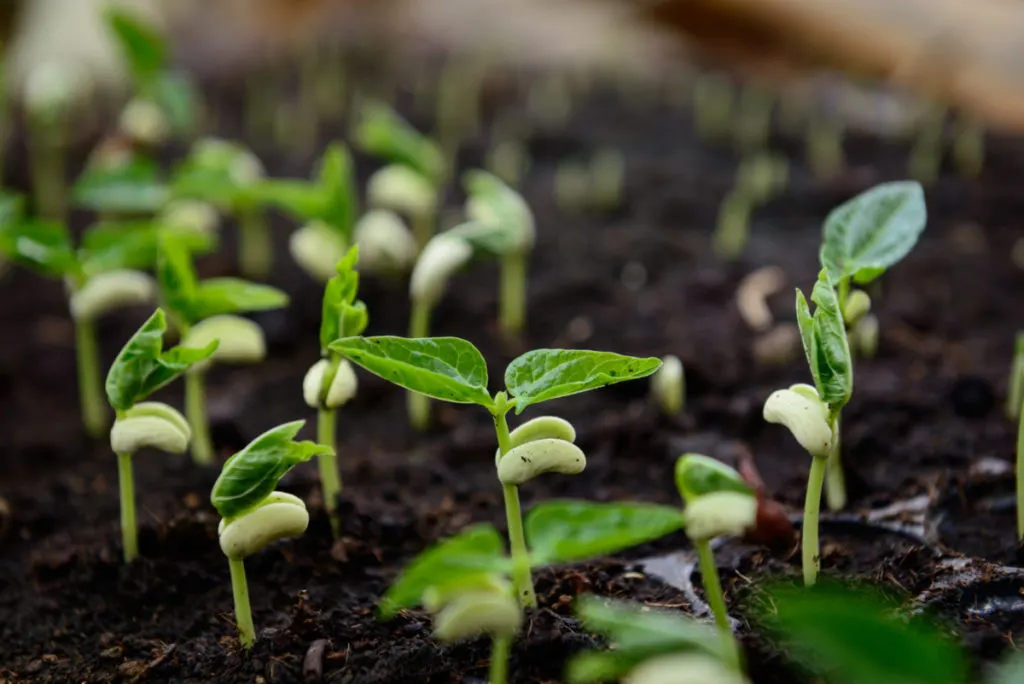
Soak Your Corms
Before planting ranunculus corms, it’s important to soak them to speed up the sprouting process. Corms need to be cured before storage, which involves drying them to prevent mold and fungus. Soaking them in clean water prior to planting helps rehydrate them.
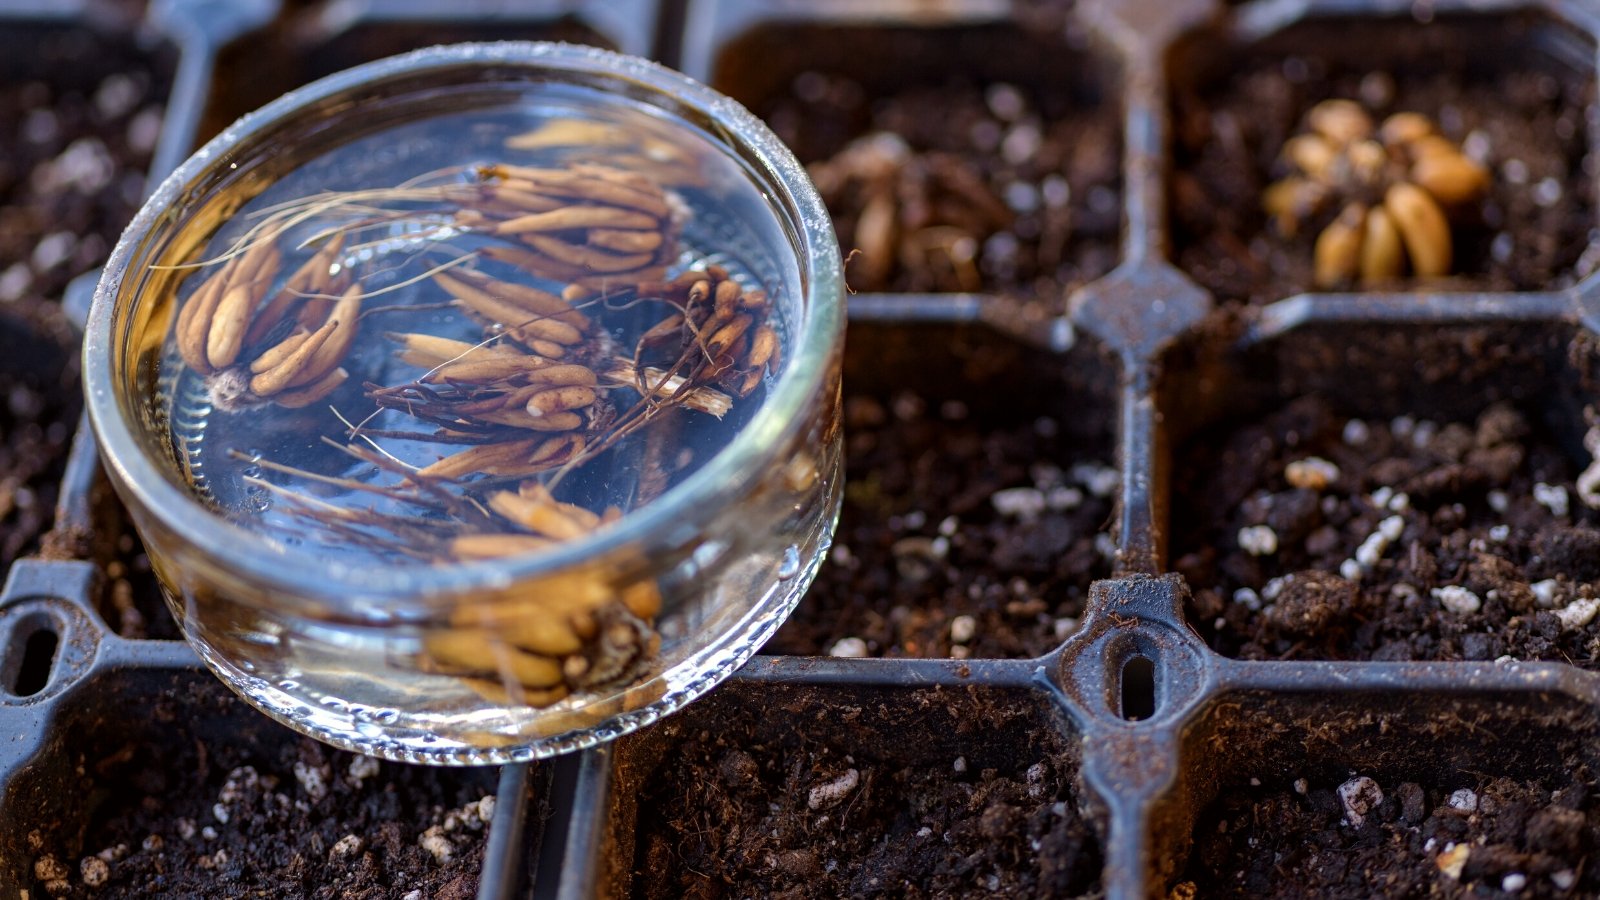
However, unlike seeds that may need an overnight soak, ranunculus corms should only be soaked briefly. Soaking them for too long can cause them to soften and break down, which can lead to rotting. The goal is to soak them just long enough to revive them.
Use room-temperature water for soaking, as hot water is unnecessary. The corms should plump up within about four hours. To prevent fungal diseases, you can add a fungicide to the water. For the last 45 minutes to an hour of soaking, adding a biological fungicide provides extra protection.
Pre-Sprout Your Corms
Pre-sprouting is an optional step when growing ranunculus in containers. If planting directly in the ground, it’s recommended to pre-sprout them indoors, similar to how you would start seeds for transplanting. Pre-sprouting helps get a head start in cooler climates, extending the blooming period.
If you have enough indoor space, you can plant the corms directly in their containers a few weeks before the last expected frost. Alternatively, sprouting the corms in a shallow seed tray can be a space-saving method. Ranunculus corms transplant easily, even when young.
To pre-sprout, fill a seed tray with a few inches of lightly moistened potting medium. Avoid overly wet soil. Place the corms in the tray with the finger-like structures facing downward and cover them with about an inch of soil.
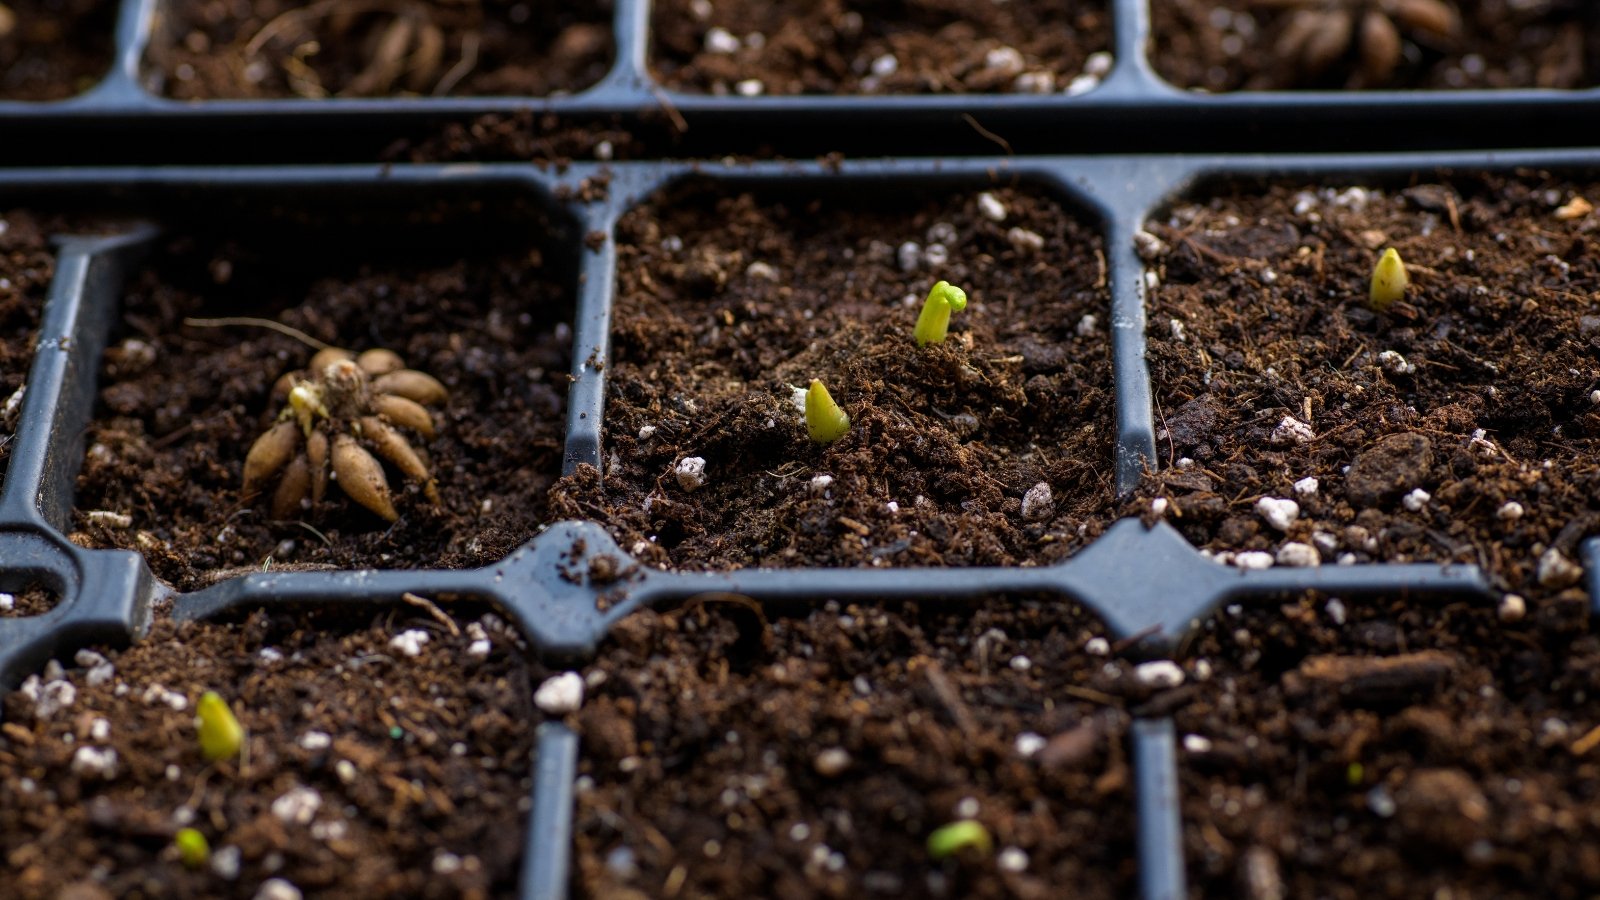
Store the trays in a cool, dark location such as a basement or garage, ideally between 40°-50°F (4°-10°C). Make sure the area doesn’t drop below freezing. A refrigerator is also a good option if you have space.
During this period, the corms focus on developing strong roots rather than growing foliage, so keep them in the dark. Water only when the soil dries out, and use water sparingly. After a few weeks, you should see small sprouts emerge. Once the weather improves, you can transplant your sprouted corms outdoors.
Space Your Plants Properly
When planting ranunculus in the ground, the general spacing rule is nine inches apart. In containers, however, they can be planted closer together—six inches is a good guideline. An eight-inch pot should have only one corm, while a 12-inch pot can hold two.
As with pre-sprouting, plant corms with the finger-like structures pointing downward. Bury them two to three inches deep and cover with soil. Water the soil lightly after planting, but avoid overwatering. The corms need little water until the foliage starts to develop.
Water Sparingly
It’s essential not to overwater your young ranunculus plants. The corms are susceptible to fungus and root rot, and they won’t absorb much water until their foliage begins to grow. Water sparingly in the early stages.
Several factors influence watering frequency. Climate plays a significant role; in warmer weather, you’ll need to water more frequently. Container size also matters, as larger pots retain moisture longer than smaller ones.
A simple guideline is to feel the soil regularly. Water your ranunculus when the surface feels dry. As long as the foliage is green and flowers are blooming, keep the soil moist but not overly wet.
Give Them the Right Light and Temperature
Growing ranunculus in containers offers a significant advantage in warmer climates because it allows you to control their exposure to sunlight. The longer you can protect these plants from intense summer heat, the longer they will continue to bloom.
Ranunculus thrive in cool weather, so once the temperature rises, their blooming period ends. In cooler conditions, place your potted ranunculus in full sun to give them as many hours of sunlight as possible. This will encourage maximum flower production.
As temperatures increase, you can extend the life of your plants by moving them to a spot with partial shade. Ideally, provide full sunlight during the morning, as the afternoon sun tends to be hotter and harsher. This balance will help keep your plants cool and prolong their blooming season.
Temperature and sun exposure are closely linked to the health of ranunculus plants. They perform best in cool, mild weather, with ideal temperatures ranging from 35°-50°F (2°-10°C) at night and 60°-75°F (16°-24°C) during the day.
If there is an unexpected drop in temperature, it’s best to bring your potted ranunculus indoors. If that’s not possible, cover the plants with frost cloth to protect them. Based on my experience, the foliage can survive a light freeze, but temperatures below 25°F (-4°C) will kill the plant.
As summer approaches, another way to help keep your plants cool is by using shade cloth. Be sure they still receive four to six hours of morning sunlight for optimal growth.
Fertilize
Adding organic compost or manure to your potting soil will provide your ranunculus with the nutrients they need to start strong. When it comes to additional fertilizer, wait until the plants are well established before applying it. Fertilizing too early can burn the young roots and plants.

Ranunculus don’t require frequent fertilizing. Once a month is sufficient. Kelp and fish emulsion are commonly used as fertilizers for ranunculus. After the plants begin blooming, you can reduce fertilizing unless they show signs of needing extra nutrients. Keep in mind that potted plants often need more frequent fertilizing compared to those grown in the ground.
Cut or Deadhead Regularly
Regular cutting or deadheading encourages more flower production in most plants, and ranunculus is no exception. The more you cut the flowers, the more the plant will produce. Fortunately, ranunculus make excellent cut flowers, with their long, slender stems and impressive vase life.
For the longest vase life, cut the flowers while they are still in bud, as they can last up to 10 days or more. If you prefer to wait until the blooms have fully opened, they will last about a week in a vase, but the open flowers are more delicate and harder to transport.
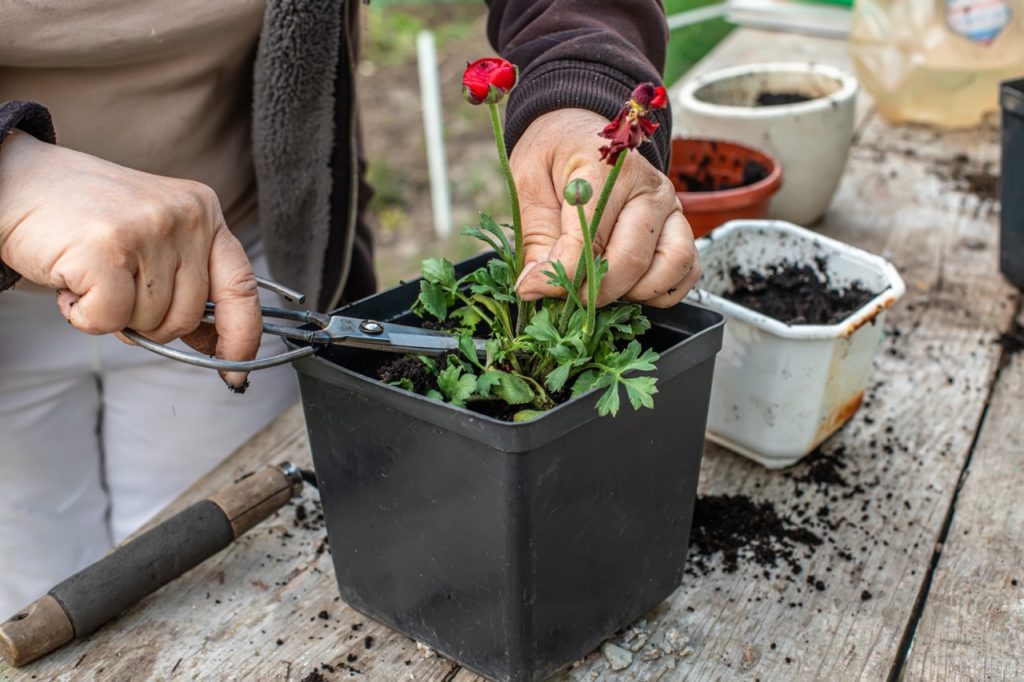
If you miss cutting the flowers or choose to leave them intact, spent blooms will appear. In this case, simply deadhead the plant by snipping off the entire flower stem once the bloom has faded. This will redirect the plant’s energy into producing new flowers.